Hey guys, welcome back!
So today we’re going to talk about the importance of water flow rate when brewing up our favourite filter coffee.
So let’s get started.
Have you ever been frustrated about the consistency of your brews on a day-to-day basis? Or have you brewed the same coffee a few times with the same recipe and variables, but somehow it’s tasted or extracted completely different to the previous brew?
This is what we’re going through today: the importance of water flow rate, the ups and downs of inconsistent flow rate, the physics behind it, and how to practise and up your pouring game. Because trust me, it took me a while. But nailing this is worth it.
So let’s dive right in!
What is Flow Rate?
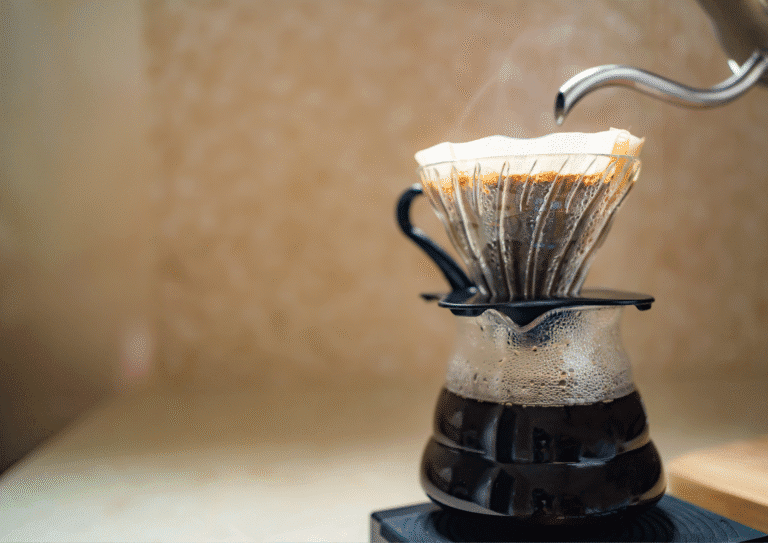
Flow rate is the consistency of how water is evenly poured onto our brew. It allows for a consistent, even distribution of our coffee bed, allowing our coffee to thrive in all the right places. Ensuring our flow rate is the same or perfectly controlled throughout our brew will allow us to replicate it repeatedly. It will also create a more defined and tasty cup of filter coffee. What more could you want?
Essentially, in filter coffee, the flow rate refers to the speed at which the water passes through our ground coffee bed during the brew. It’s usually measured in grams per second, and variables such as water quality, grind size, filter papers used, and pour speed (our flow rate) are all essential to producing a great cup.
How Can We Perfect Our Flow Rate?
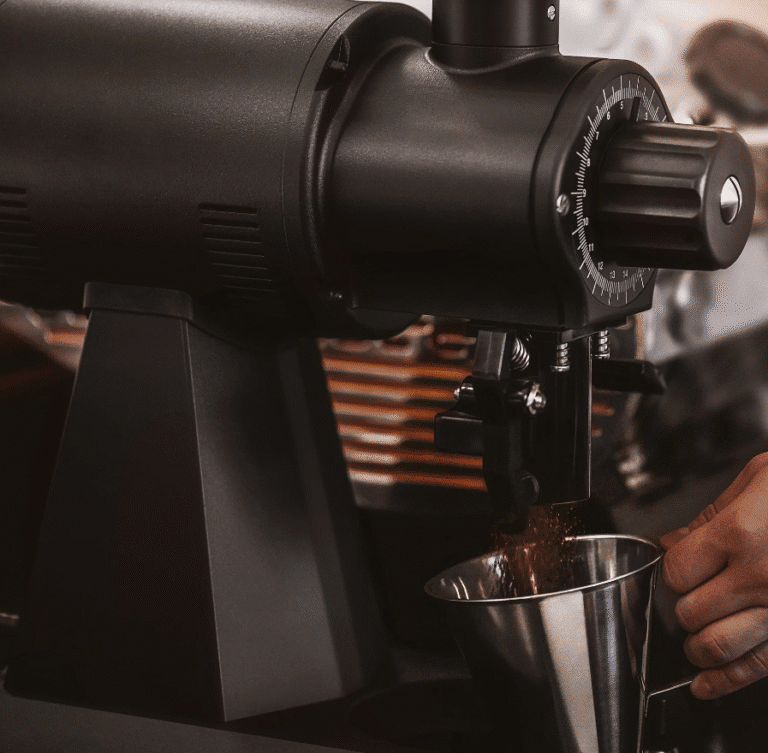
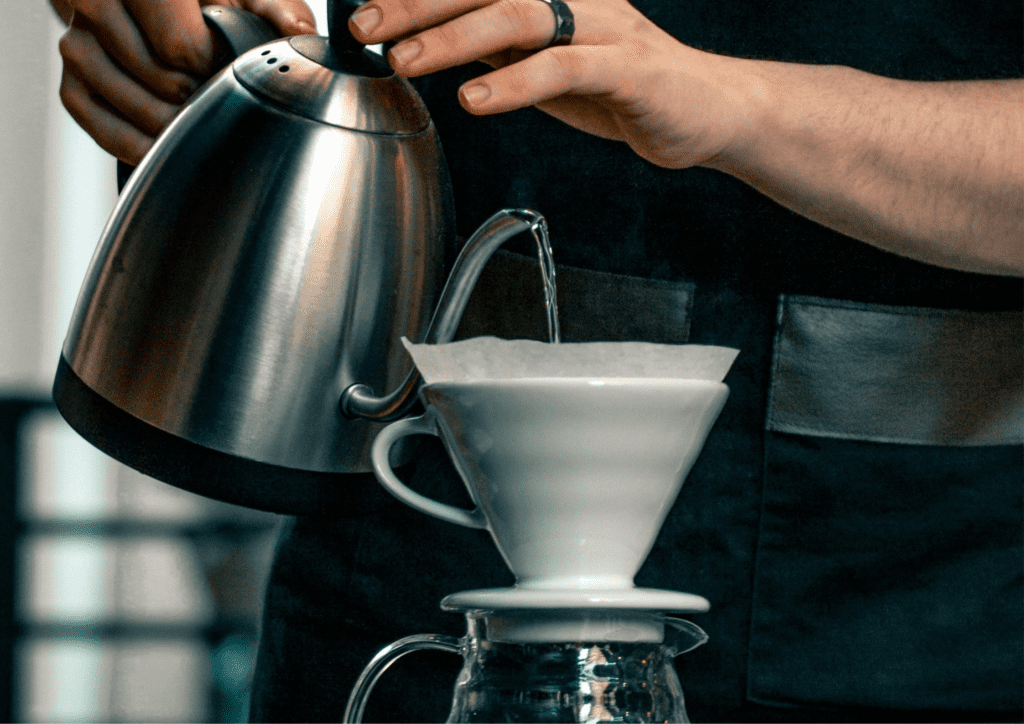
The best way to improve our water flow rate is by having the right equipment. At Caretta, we recommend a gooseneck kettle – we use the Brewista Artisan 1l but you can use a Hario Buono or similar, if you’re on a budget.
Controlling the temperature of the brew is also very important, so a temperature-controlled kettle like the Brewista Artisan or a Fellow Stagg is a great investment for improving your brewing skills.
Here’s a little exercise to perfect your pouring skills:
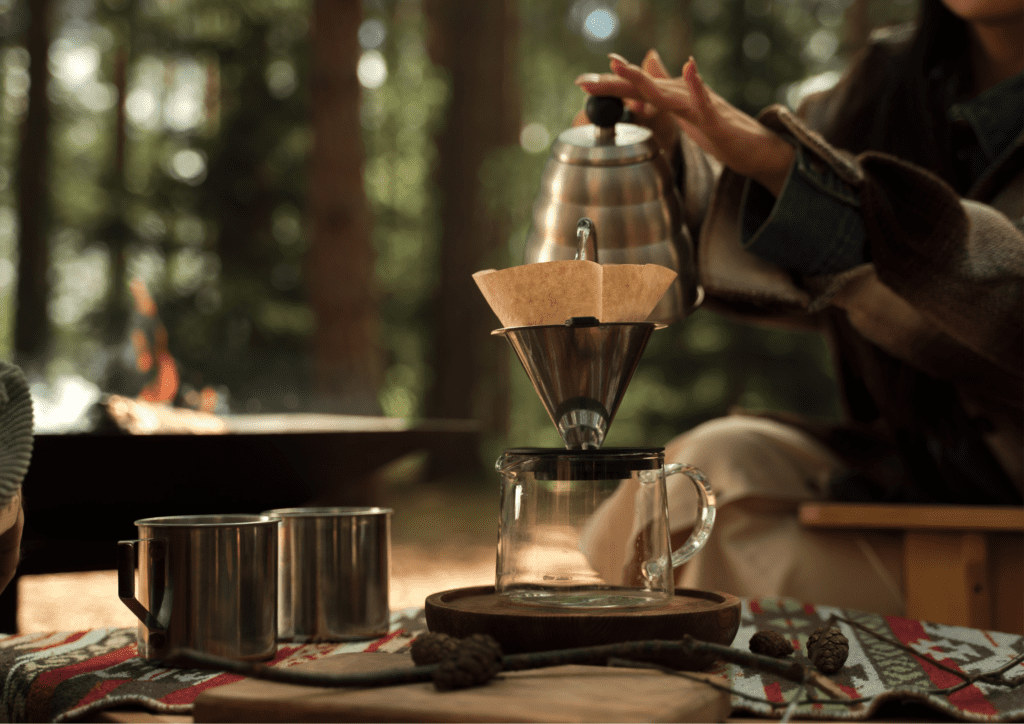
Grab your gooseneck pouring kettle, dripper (origami, orea, v60, kalita, etc) and your carafe. You won’t need any coffee or filter papers for this exercise.
Fill your kettle with cold water, start pouring in a circle onto your dripper like you would normally for your brew, keeping an eye on how fast or slow your pour is.
The aim of this exercise is to make your pouring style comfortable, and to control the water for a full brew time- so a pouring time of just over 1 minute, but making sure you have the same consistent pouring rate for the entire exercise.
Do this a few times, take a break, maybe pull yourself an espresso and chill out for half an hour, then go back to it. This creates muscle memory, which allows you to transfer your consistent rate of water without having to ruin a brew or waste any coffee.
Give it a try and improve your flow rate, then when it comes to brewing, you’ll see a great difference in extraction.
I would also recommend the Microbalance scale from Difluid, which enables you to connect your scale to your phone and track and log your recipes and brews. This also has an integrated graph feature, which shows your flow rate throughout your entire brew. This has definitely helped me become more consistent with my brew recipes and flow rate.
Should I Pour Fast or Slow?
Deciding how fast or slow you should pour your water onto your brew will depend on other variables, such as how fine or coarse your coffee is. You should factor in that how you pour will affect the extraction of your brew; certain motions, slow or fast pouring, can extract your brew faster and quicker.
- Using a centre pour will make your flow rate faster.
- Circular pouring fast (heavy agitation) will make your flow through rate slower.
- You can control your spout height to control the different levels of agitation: the higher the spout height, the higher the agitation.
- Manipulate your flow rate input from the spout to control levels of agitation.
- The higher the flow rate, the higher the agitation.
Remember, agitation is disrupting the coffee grounds and water to promote even extraction and flavour compound development. This is done by either doing as we stated above (pouring high and fast or pouring low and fast) or by stirring or swirling your brewer to promote even extraction throughout your brew.
Experimenting is Key
To round everything up – we always say, just experiment, use the exercise above to help you control your flow rate more consistently, experiment with recipes, use your ratios and different grind sizes for different coffees and play around with different types of agitation and flow rate of your water and then evaluate how the cup tastes.
Learn what you do each time, and you’ll be on a journey of knowledge for something that to some people is simple but to us coffee-obsessed enthusiasts and professionals is something that brings us deep joy for the value of learning something new and improving every day.
I hope you’ve enjoyed this read.
So until next time, grab a brew, experiment with your flow rate, and I’ll catch you on the next one!
Be sure to check out our other related articles on a beginner’s guide to coffee ratios and pour-over coffee for beginners, which will help you on your filter coffee journey.
Peace!