Pour over coffee is more than just a brewing method – it’s a moment of peace, a ritual and a celebration of stories and craftsmanship. Whether you’re a coffee professional or home enthusiast or just starting out in the beautiful world of filter coffee, revisiting the fundamentals of pour over coffee will help elevate your daily brew or brews to new heights, to something truly special. In this updated guide I’ll be blending insights of our original article along with fresh perspectives and techniques I’ve learnt along the way. So, let’s dive into the art and beauty of pour over coffee brewing.
Why Pour Over?
Pour over is coffee in its purest form, filtered, clean, vibrant, juicy, and so much more, it gives you unmatched control over the entire brewing process. Unlike modern day automatic machines, manual brewing allows you to dial in every variable – from grind size, flow rate, water temperature, bloom, agitation and even water recipes (check out our other article here on the importance of water in coffee brewing) all this results in a cup that’s dialled in for your taste preference and one that brings out all the coffees beauty in its natural form, no sugar, no milk, no additional sweeteners, just coffee as it’s meant to be. It’s also a very peaceful mediative process. The experience of slowly pouring water onto a fresh aromatic bed of ground coffee, watching the bloom expand and release co2, inhaling the aroma, the beautiful sensory experience that connects you with coffee, to the story of where it all came from.
What You’ll Need
Before we get into a few methods of brewing great pour over coffee, let’s gather the equipment we’ll be needing:
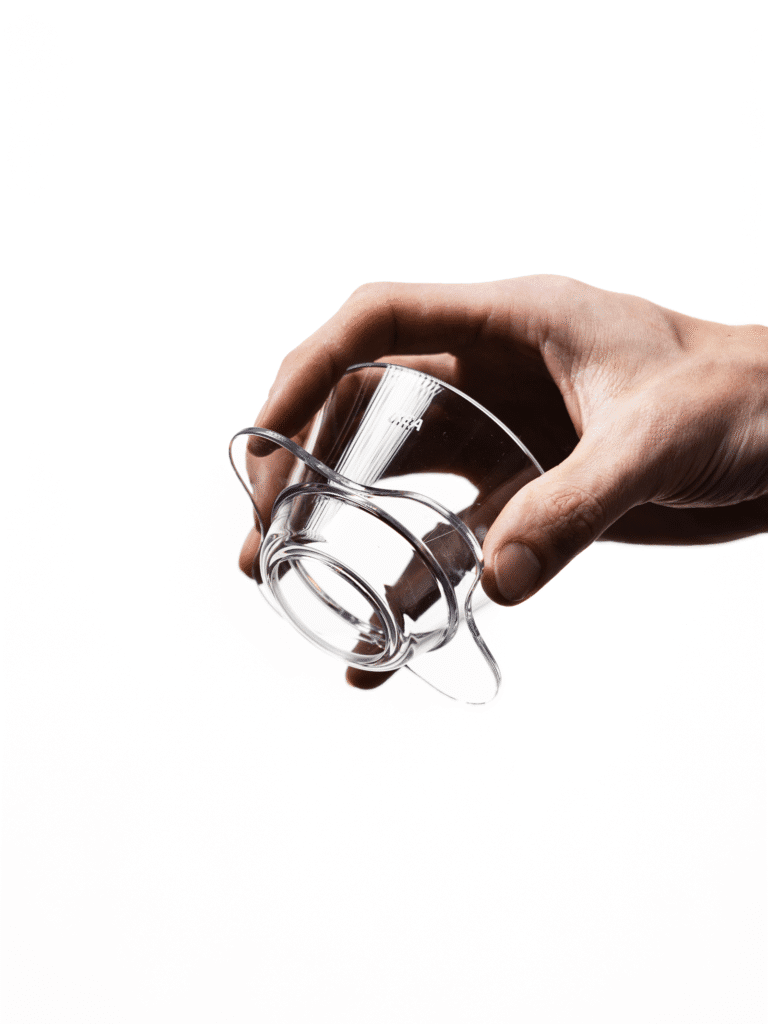
– Pour over brewer (e.g Hario V60, Kalita, OREA V4 etc) Today we’ll be using the Orea Baby O1 dripper in Collab with one of our favourite roasteries in Rotterdam A Matter of Concrete.
– Paper Filters specific to your brewer – for the O1 we’ll be using a Kalita Wave 155 filter paper.
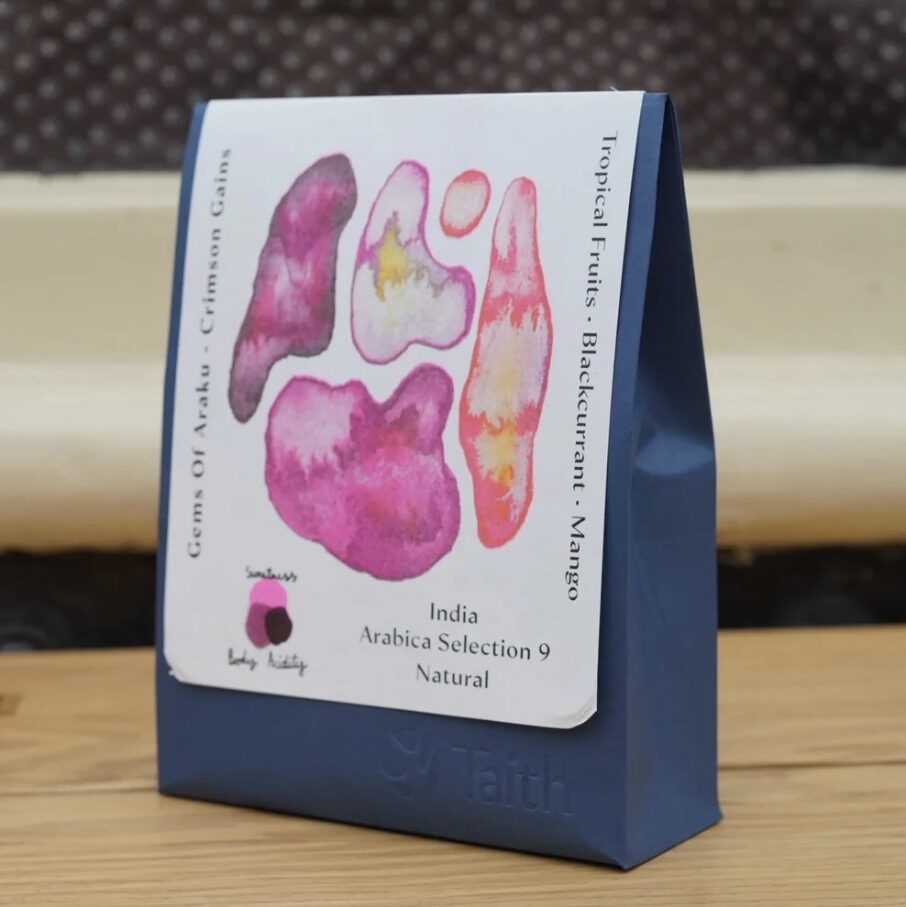
– Rested Coffee beans – for this recipe we’re using a Natural Indian from Taith Coffee Roasters – a flavour profile of tropical fruits, blackcurrant and mango. We rested this for 3 weeks.
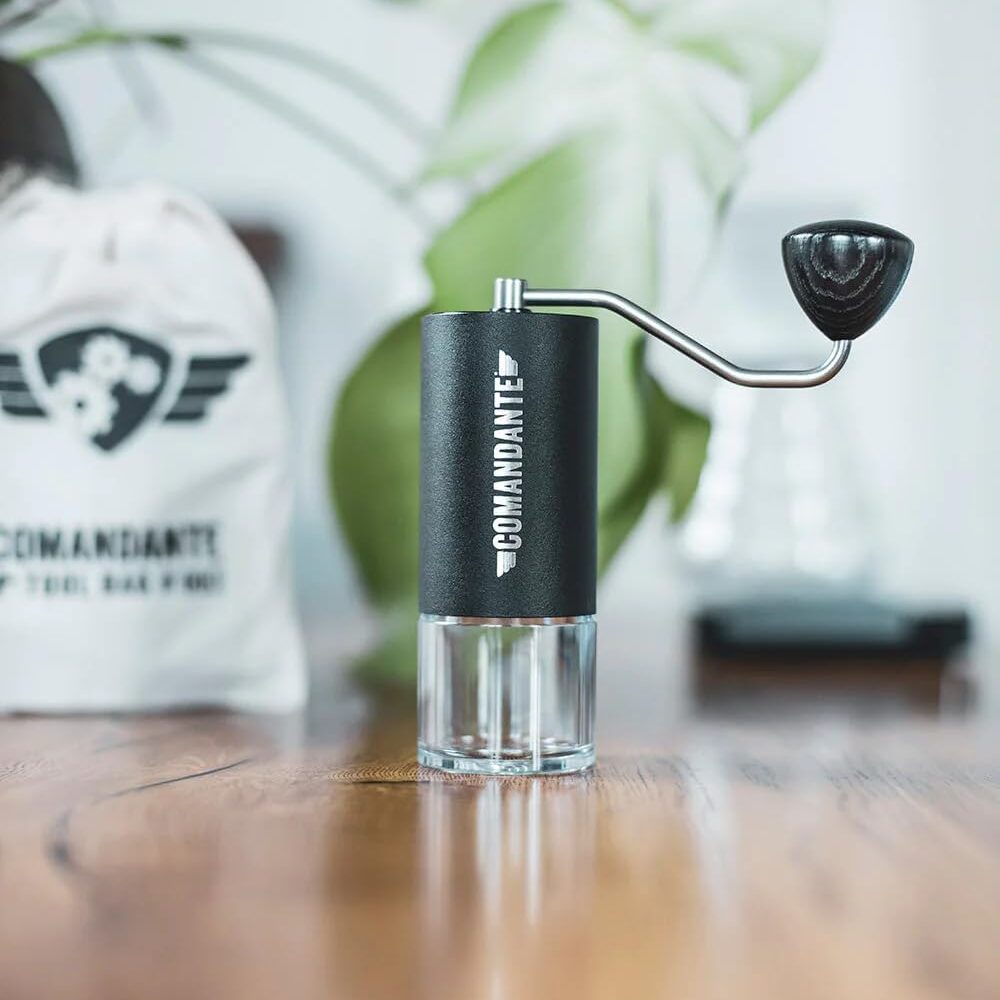
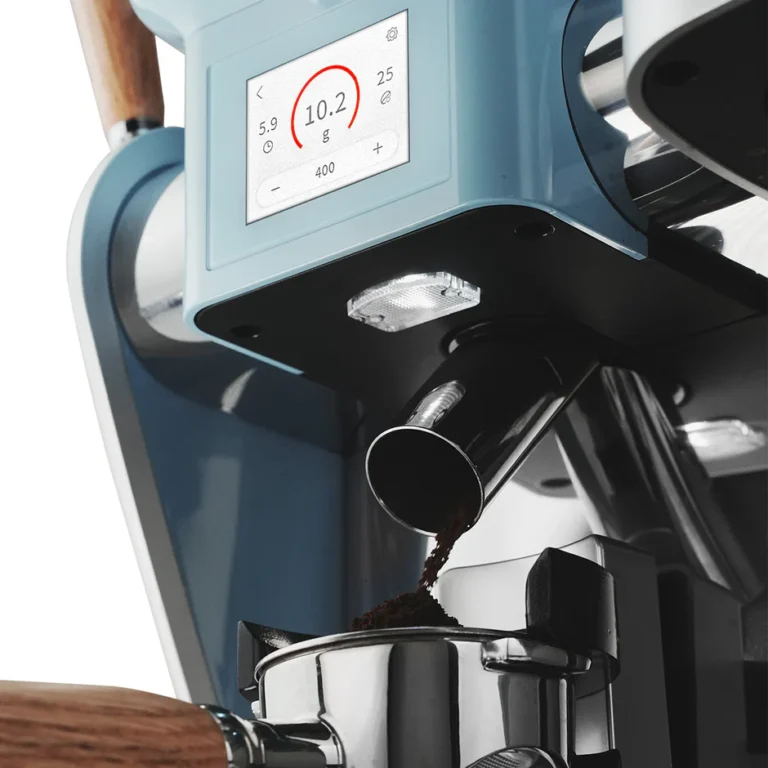
– A burr grinder – for grind consistency and control – today we’re using the comandante C40.
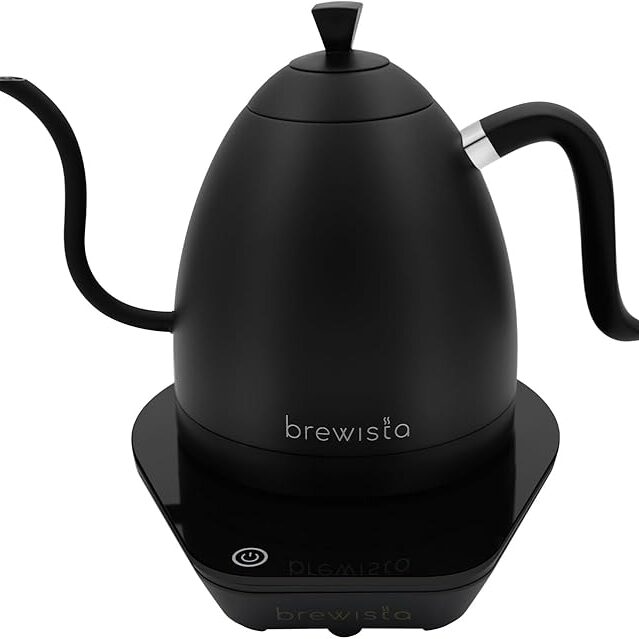
– Gooseneck Kettle for flow rate pouring precision.
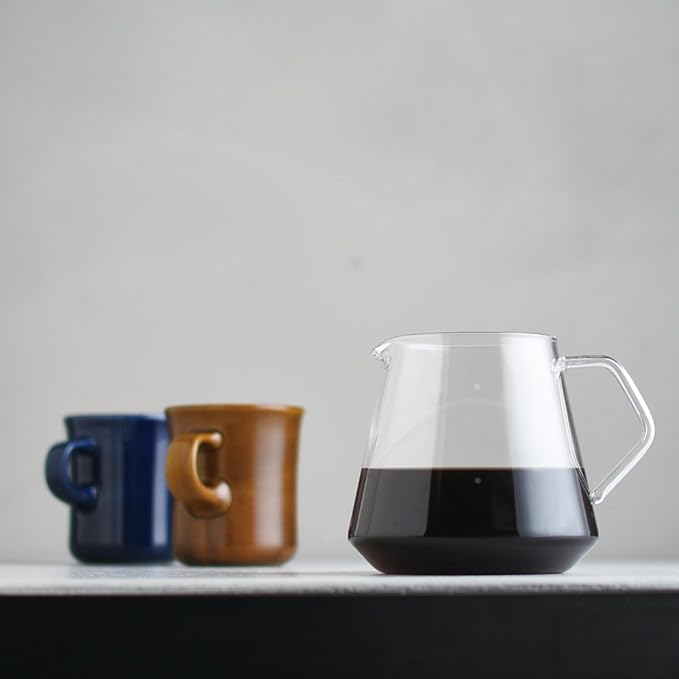
– a carafe, server or cup that fits on your dripper
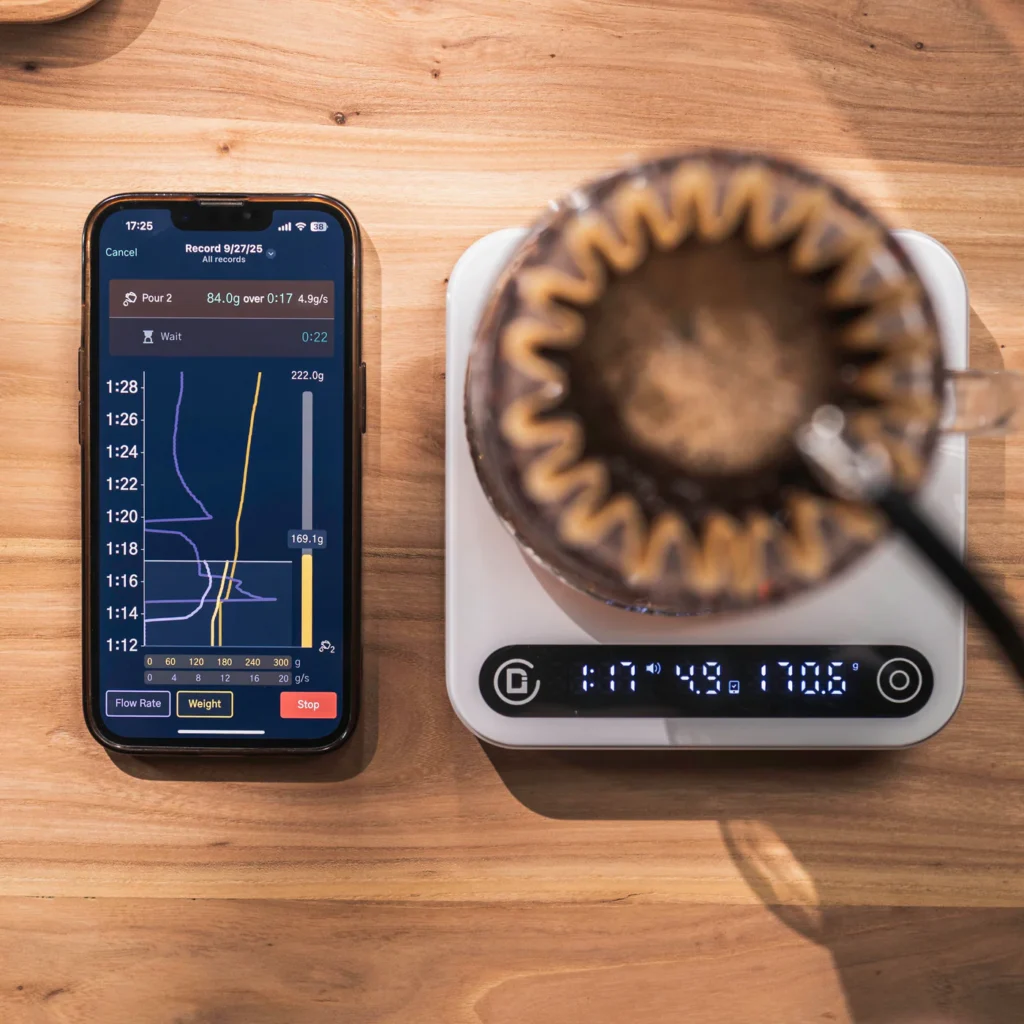
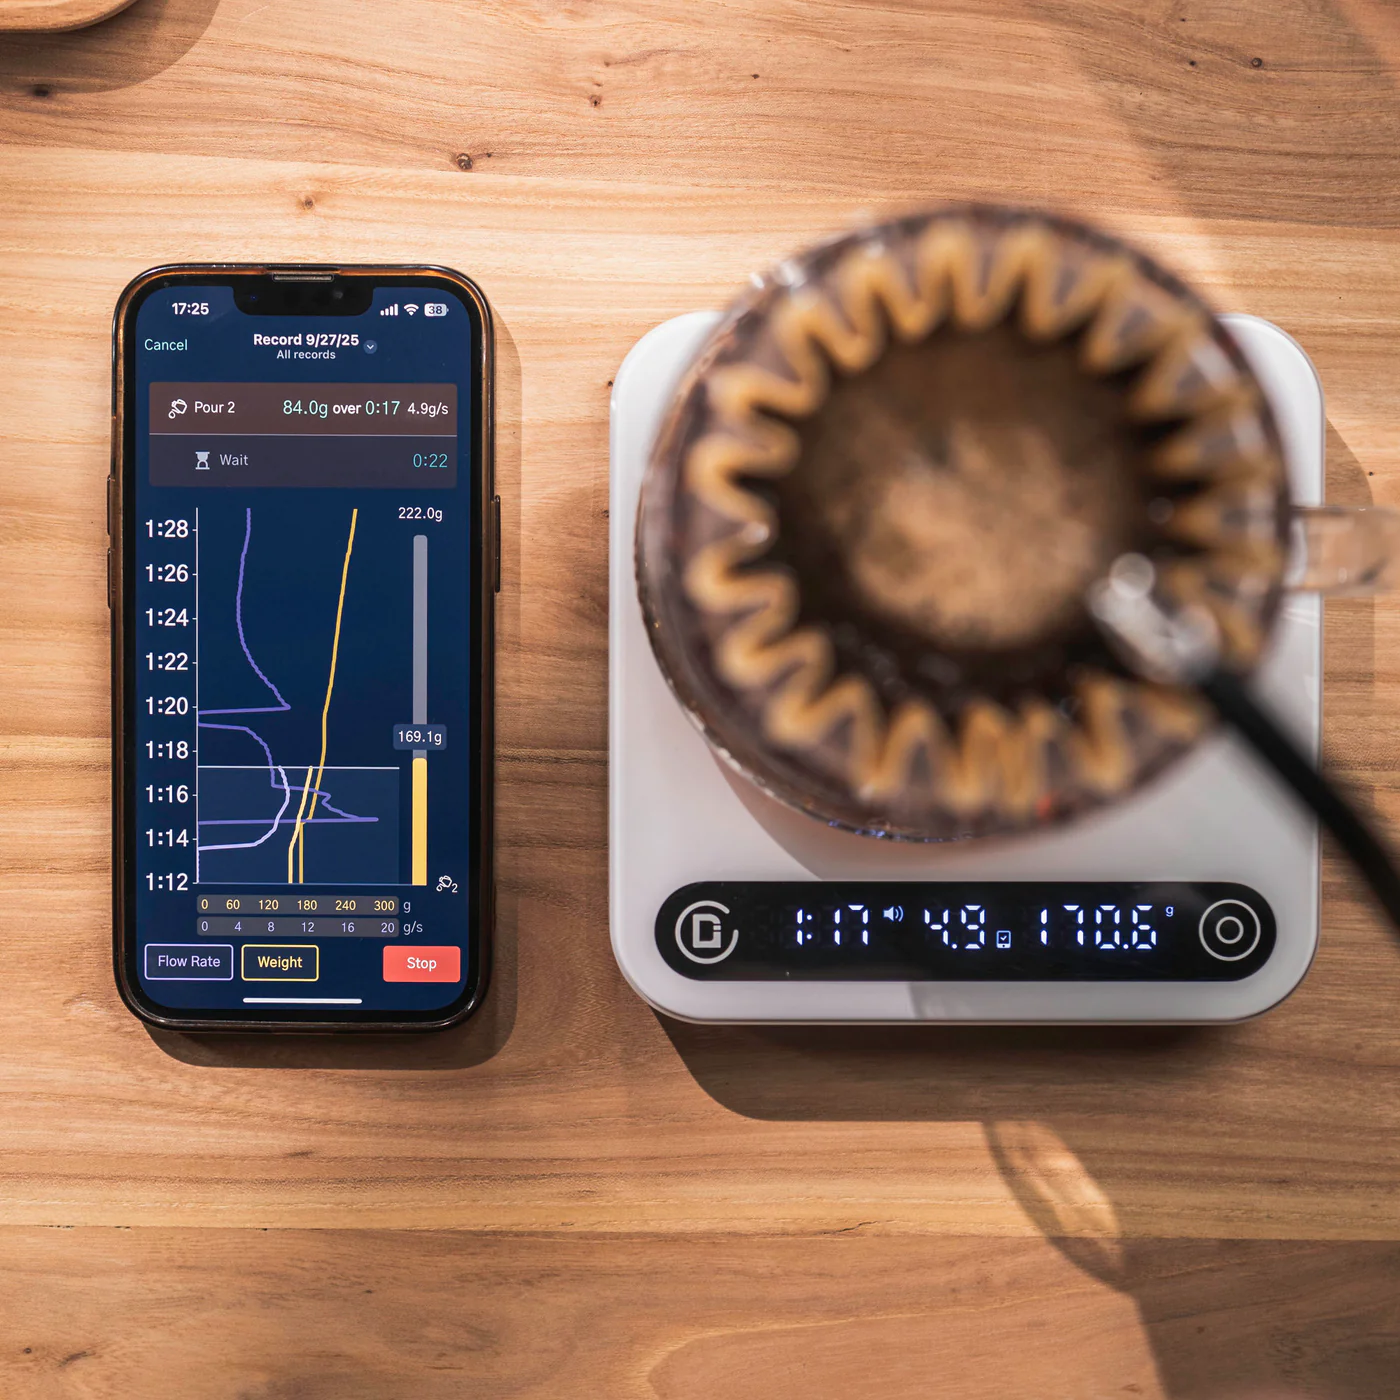
– A digital coffee scale, with built in time we for weight accuracy. (You can use your phone for timing if your scale doesn’t have one built in.
– Filtered water thats not too hard or soft, again check out our other article on water in coffee brewing if you’d like to learn more.
The Framework: A Flexible Recipe
One of the most effective approaches to pour over brewing is to use a flexible, easy to understand framework that adapts to your chosen coffee, equipment and taste preferences. Here’s our go-to method for a tasty vibrant cup using the Orea O1.
Basic Recipe
– Coffee Dose: 12g (adjustble from 10-16g)
– Water: 200g
– Around a 1:17 ratio
– Grind Size – we did 24 clicks on our X25 Grinder which is medium to coarse.
Water Temperature – 94°C
Brew Time – 2:15-2:45
Step-by-Step Instructions
Prepare your equipment:
Place your filter in the brewer, rinse it with hot water to get rid of any paper taste in your coffee, this is also to preheat your brewer.
Then discard of the water used to wet the paper filter.
Grind your coffee, ensure you weight the correct amount using your scale, use a ratio like the one we mentioned above to get a nice balanced cup.
For example: if you want to use 15 grams of coffee at a 1:16 ratio you could do 15 grams multiply it by 16 and that will tell you how much water you need for you brew (so 240g) just experiment to see which dose and ratio you prefer best, that’s the fun part of filter coffee.
Place your carafe or cup on your scale, along with your dripper, and then add your ground coffee and give it a little shake to even out the bed.
Start your timer and pour in a circular motion ensuring your saturate all your coffee grounds, pour up to 40g – this is called your bloom, usually you bloom with no more than 3 X your coffees weight.
Wait until 40 seconds to do your next pour.
At 40 seconds pour to 100g in a circular motion nice and even with the flow rate.
At 1:30 do your third and final pour, up to 150g in a circular motion, then a central pour to 200g.
Allow your coffee to drawdown (until your coffee bed becomes dry and all the water has extracted through the coffee bed)
This should be a total brew time of around 2:15-2:45.
Pour into a cup and enjoy!
Dialling In: Adjusting the Variables
The beauty in pour over is in its adaptation. Here’s how to change your brew variables to make them better. Remember every coffee has different extractions and needs tweaking in different ways.
Grind size: finer grind increases extraction resulting in longer brew times. Coarser grind size results in a reduction of extraction meaning a quicker brew time.
If your coffee tastes sour, grind finer, if bitter, go coarser.
Water temperature: light roasts benefit from slightly higher temperatures while darker roasts prefer lower temperatures to reduce bitterness.
Agitation: swirling the brewer, pulse pouring or string the brew, be gentle when you do this to avoid over extraction – check out our other article on agitation here for a more detailed approach.
Pour technique – flow rate consistency is key, pour from around 1-2 inches from the bed, with even flow at a steady rate of 5-8g/second.
Other Techniques to Explore
The 4:6 Method
Developed by Tetsu Kasuya, this method divides the brew into two phases: 40% of the water for sweetness/acidity and 60% for strength. Adjusting the size and timing of the pours allows you to fine-tune flavour balance. It’s a great method for those looking to experiment with taste profiles.
Pulse Pouring
Instead of continuous pouring, pulse pouring involves multiple small pours (e.g., five 50g pours). This technique helps maintain clarity and vibrancy, especially with coarser grinds.
Common Mistakes to Avoid
– Skipping the Bloom: This step is crucial for degassing and even extraction.
– Inconsistent Pouring: Uneven pours can lead to channeling and under-extraction.
– Wrong Grind Size: Blade grinders often produce uneven grinds. Invest in a burr grinder for better results.
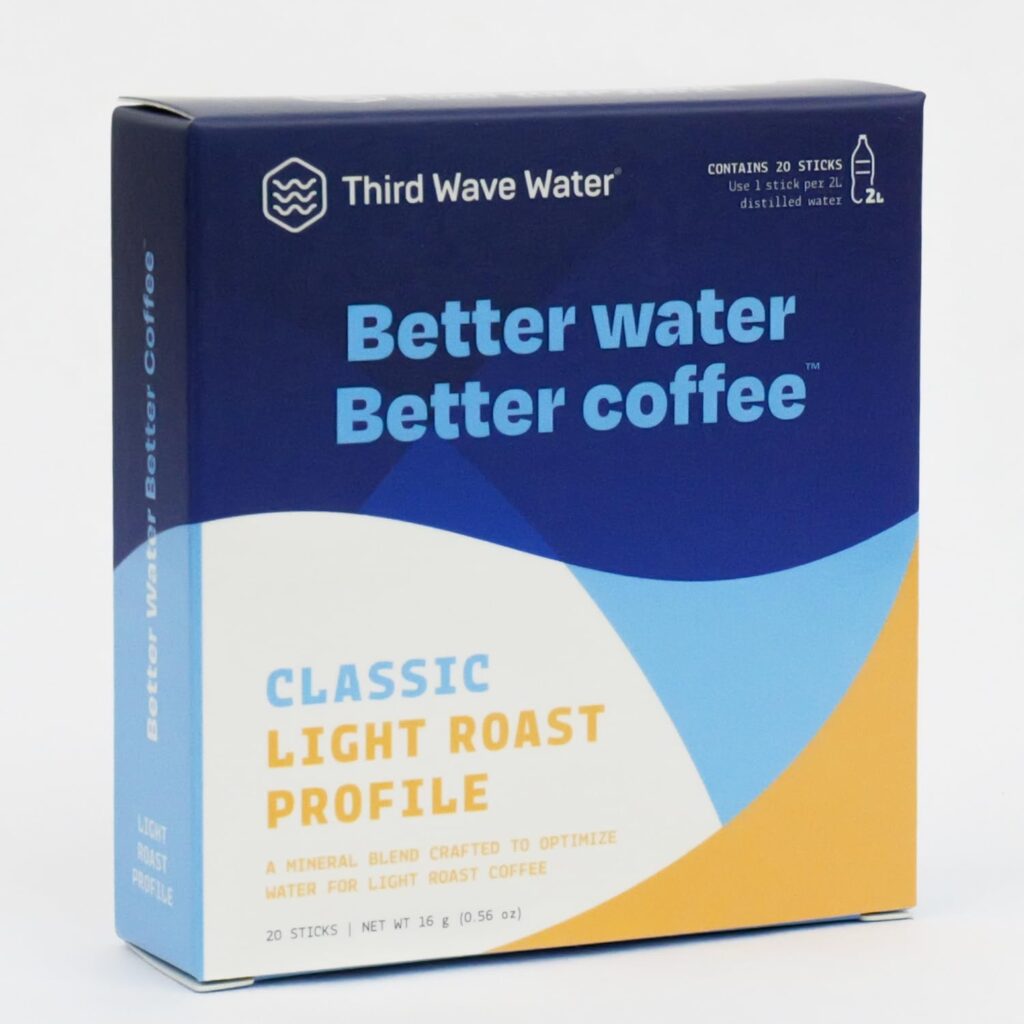
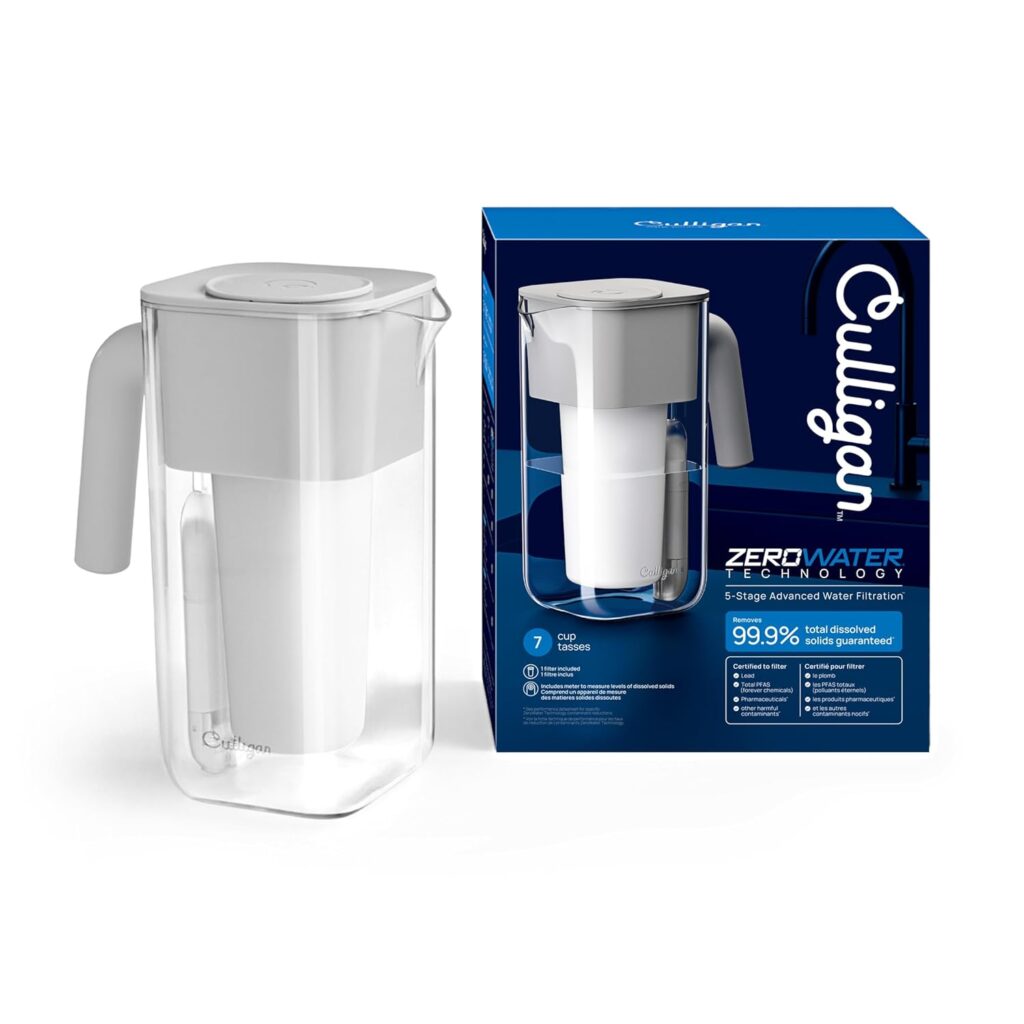
– Ignoring Water Quality: Coffee is 98% water. Use filtered water to avoid nasty flavours – or use a Zero Water Filter which distills your tap water to a 0.0 TDS and then put minerals in after – these are the best if you’re on a budget
Another Easy Recipe
12g of coffee
200g of water @ 94°C
Grind Size: 22 Clicks on Comandante X25
50g bloom in a circular motion ensuring you saturate all the coffee grounds
40s – pour to 100g with a centre pour
At 1:20 – pour to 150g with a centre pour
At 1:45 – slow circular pour to 200g
Final Thoughts
Pour over coffee is a journey, not a destination. Whether you’re brewing a quick cup before work or taking your time on a Sunday morning, the process invites mindfulness and experimentation. By revisiting the basics and embracing new techniques, you can unlock deeper flavours and a more rewarding coffee experience.So, grab your favourite beans, heat up your kettle, and enjoy the ritual. Your perfect cup is just a pour away.
Pour over coffee is a journey, not a destination. Whether you’re brewing a quick cup before work or taking your time on an early Sunday morning, the process invites mindfulness, experimentation and peace. By revisiting the basics and embracing new skills and techniques, you can unravel new ways of extracting deeper flavours and a more satisfying coffee experience. So keep learning, keep experiementing and enjoy the process just as much as we do. Happy brewing and we’ll catch you on the next one.
Also feel free to check out the links below for all the equipment we used for today’s recipes:
