Hey guys, welcome back!
Today we’re going to talk about espresso. More specifically, espresso profiling. And how adjusting it can change your outlook on flavour, Consistency and quality.
Espresso is the heart of the speciality coffee experience, and espresso profiling is where craft meets control. Think of it this way: every second of pressure and flow shapes the music and harmony in your cup. At Caretta Coffee, we’re always chasing that sweet spot between clarity, body, and complexity. Inspired by new coffees every day, we explore how profiling elevates every espresso shot and how each can taste extraordinary by tweaking a few key elements.
So let’s get started.
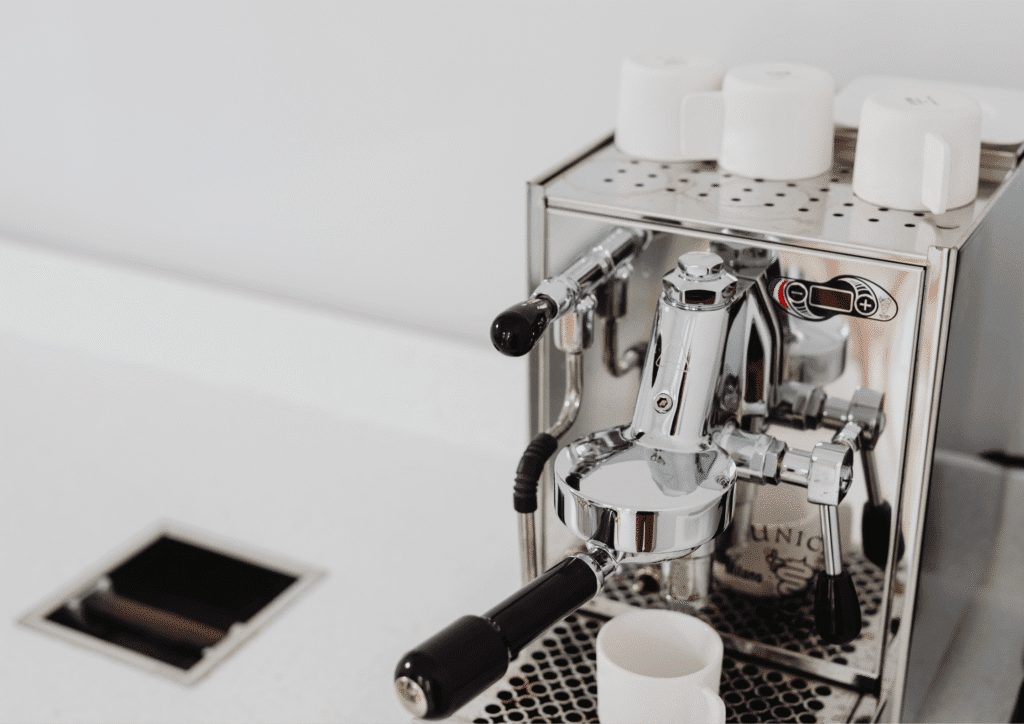
What Is Espresso Profiling?
Espresso profiling is the process of modulating water pressure and/or flow throughout an espresso extraction to influence the flavour and consistency of the final cup. With modern machines or manual techniques, baristas now have the power to:
- Slow down the initial flow to avoid channelling
- Ramp pressure gradually to bring out sweetness and acidity
- Taper off at the end to reduce bitterness
- Rather than a fixed recipe, it’s a process of responding to the coffee’s resistance, origin, roast, and grind in real-time.
Why It Matters: Beyond Standard Parameters
You can dial in TDS, yield, and brew time all day long, but profiling adds a third dimension—control over how the water behaves as it travels through the puck. This gives you:
- More Expressive Flavour
- Bright, juicy East African naturals benefit from gentle pressure ramps
- Chocolaty Brazilians respond to aggressive ramps and longer decline phases
- More Consistency Under Pressure
- Flow profiling automatically adapts to puck changes (grind retention, distribution flaws)
- Pressure curves compensate for roast level variations or grinder quirks
- Better Control Across Variables
- Predictable results even with different grinders, beans, and climates
- Profiling acts like a fail-safe against common espresso variability
Types of Profiling: Pressure vs Flow
Pressure Profiling is Pump pressure in bars (0–9+), for example, in the Slayer LP, Linea PB ABR, and it enhances tactile feel and clarity
Flow Profiling the ml/s flow rate of water helps your shots become more adaptive and consistent
Hybrid/Manual Lever or restrictor-based found in the Flair 58, Rocket R58, lelit, bianca, etc, enabling maximum control, steeper learning curve
Tip: Most prosumer machines benefit from preinfusion mods or variable pressure kits like the Lelit flow control paddle.
How to Start Espresso Profiling at Home
Even without a Slayer, you can profile by:
1. Pre-wet gently: Lift lever or apply low pressure (2–4 bar) for 5–10 sec
2. Ramp up slowly to peak pressure over the next 5–7 seconds
3. Hold peak at 9 bar (or 5–6 ml/s) for 15–20 sec
4. Taper down slowly in the final 5 seconds
Use a scale, shot timer, and visual cues from the stream. Start tasting with intention and passion, trust me, you’ll see the differences compared to a regular espresso recipe.
Common Profiling Mistakes
A few common profiling mistakes are:
Ramping too fast, resulting in a sour or thin body, so slow ramp to highlight sweetness
No pre-infusion resulting in channelling and harshness – Add 5-10 sec low-pressure and pre-wet
Declining too early will result in an underdeveloped flavour, so extend peak pressure/flow for better results.
Equipment Recommendations
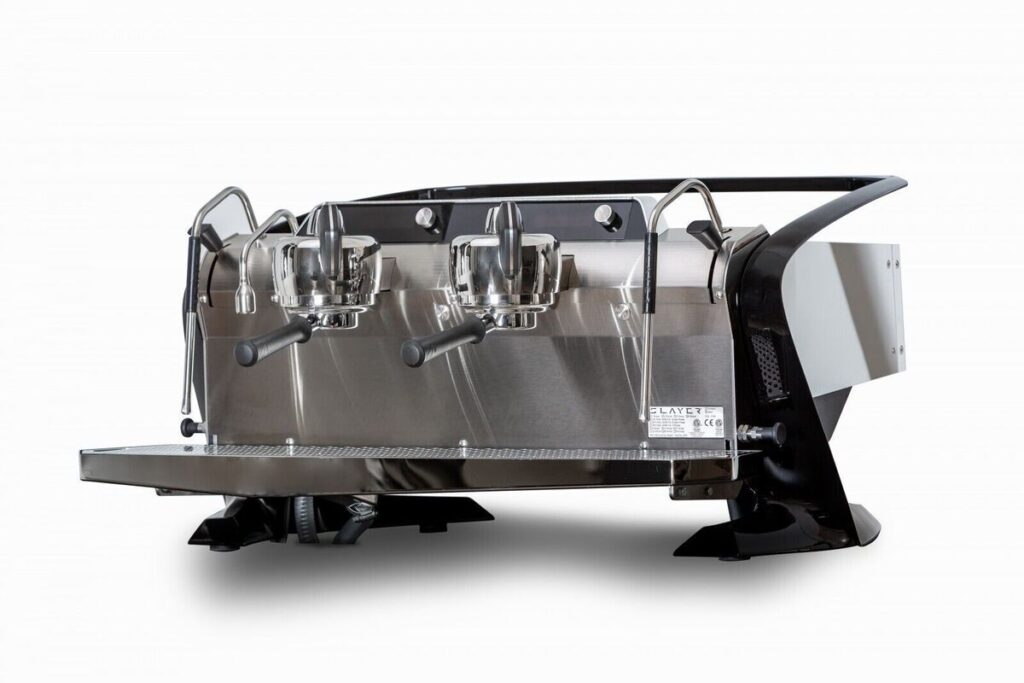
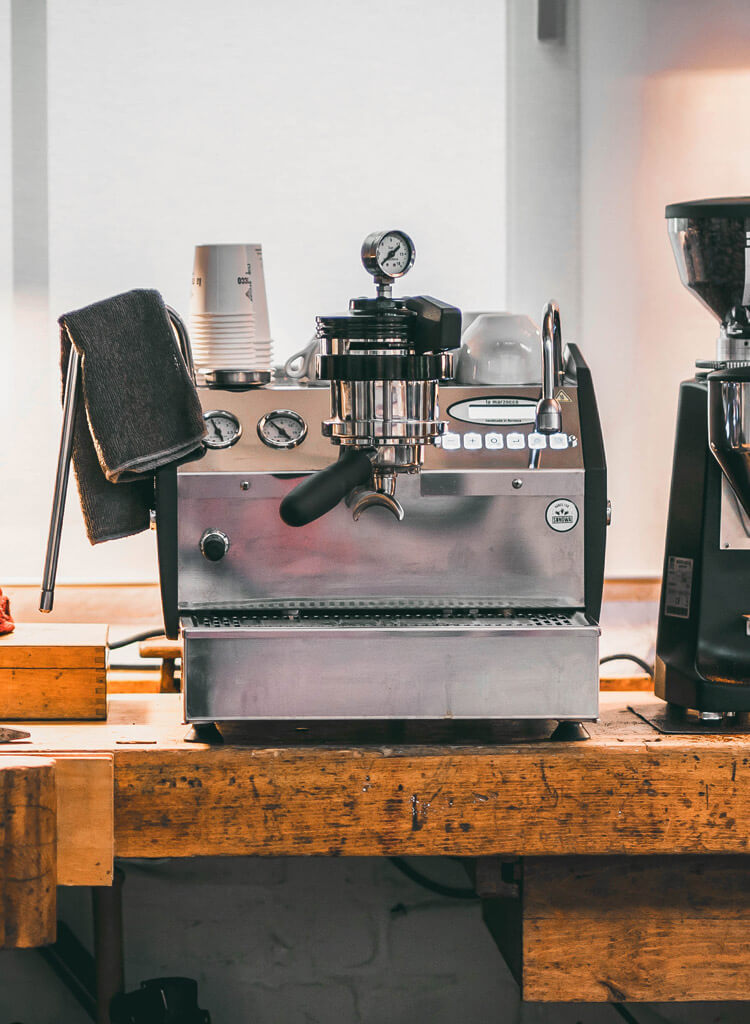
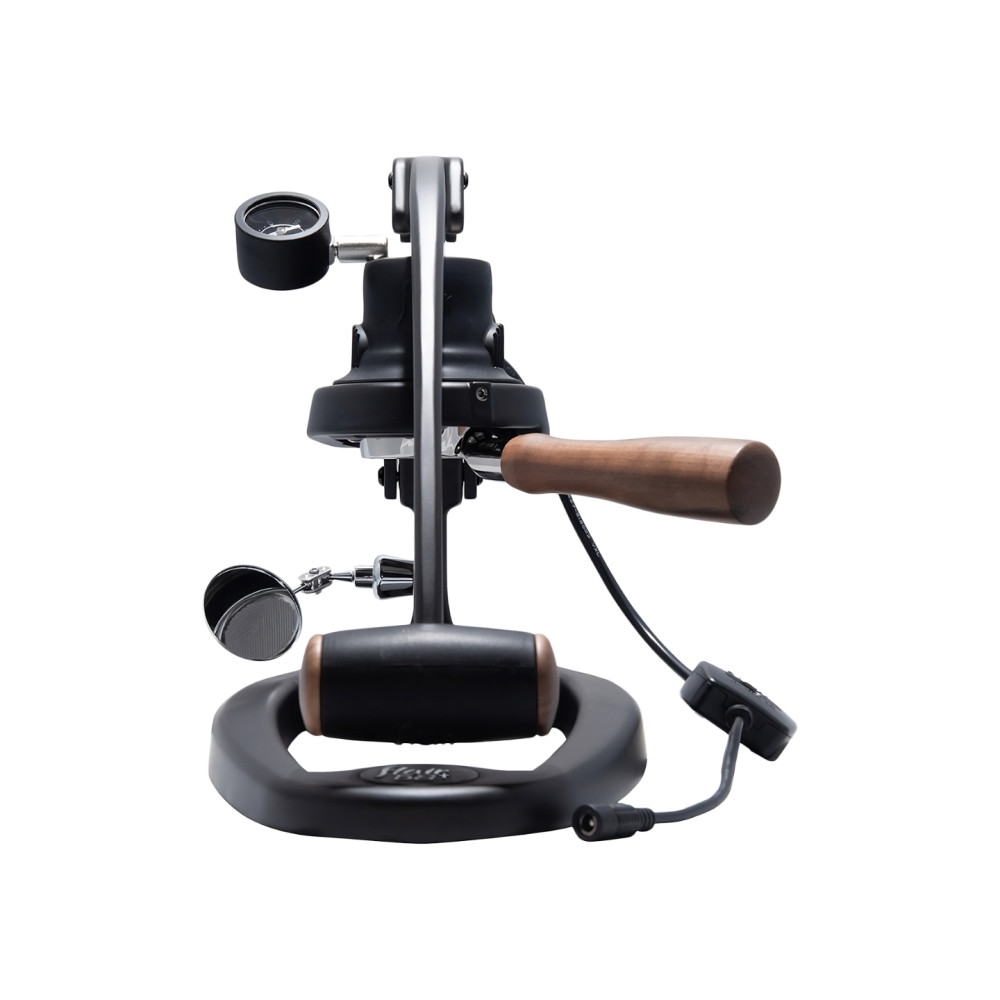
Budget: Flair 58, Profitec Pro 600 w/ flow control
Mid-range: Lelit Bianca, ECM Synkronika
High-end: Slayer LP, La Marzocco GS3 MP
Different Factors Affecting Espresso Profiling
Different origins: Washed vs. natural vs. anaerobic
Roast level: Light vs. medium vs. dark
Grinder types: Flat vs. conical burrs
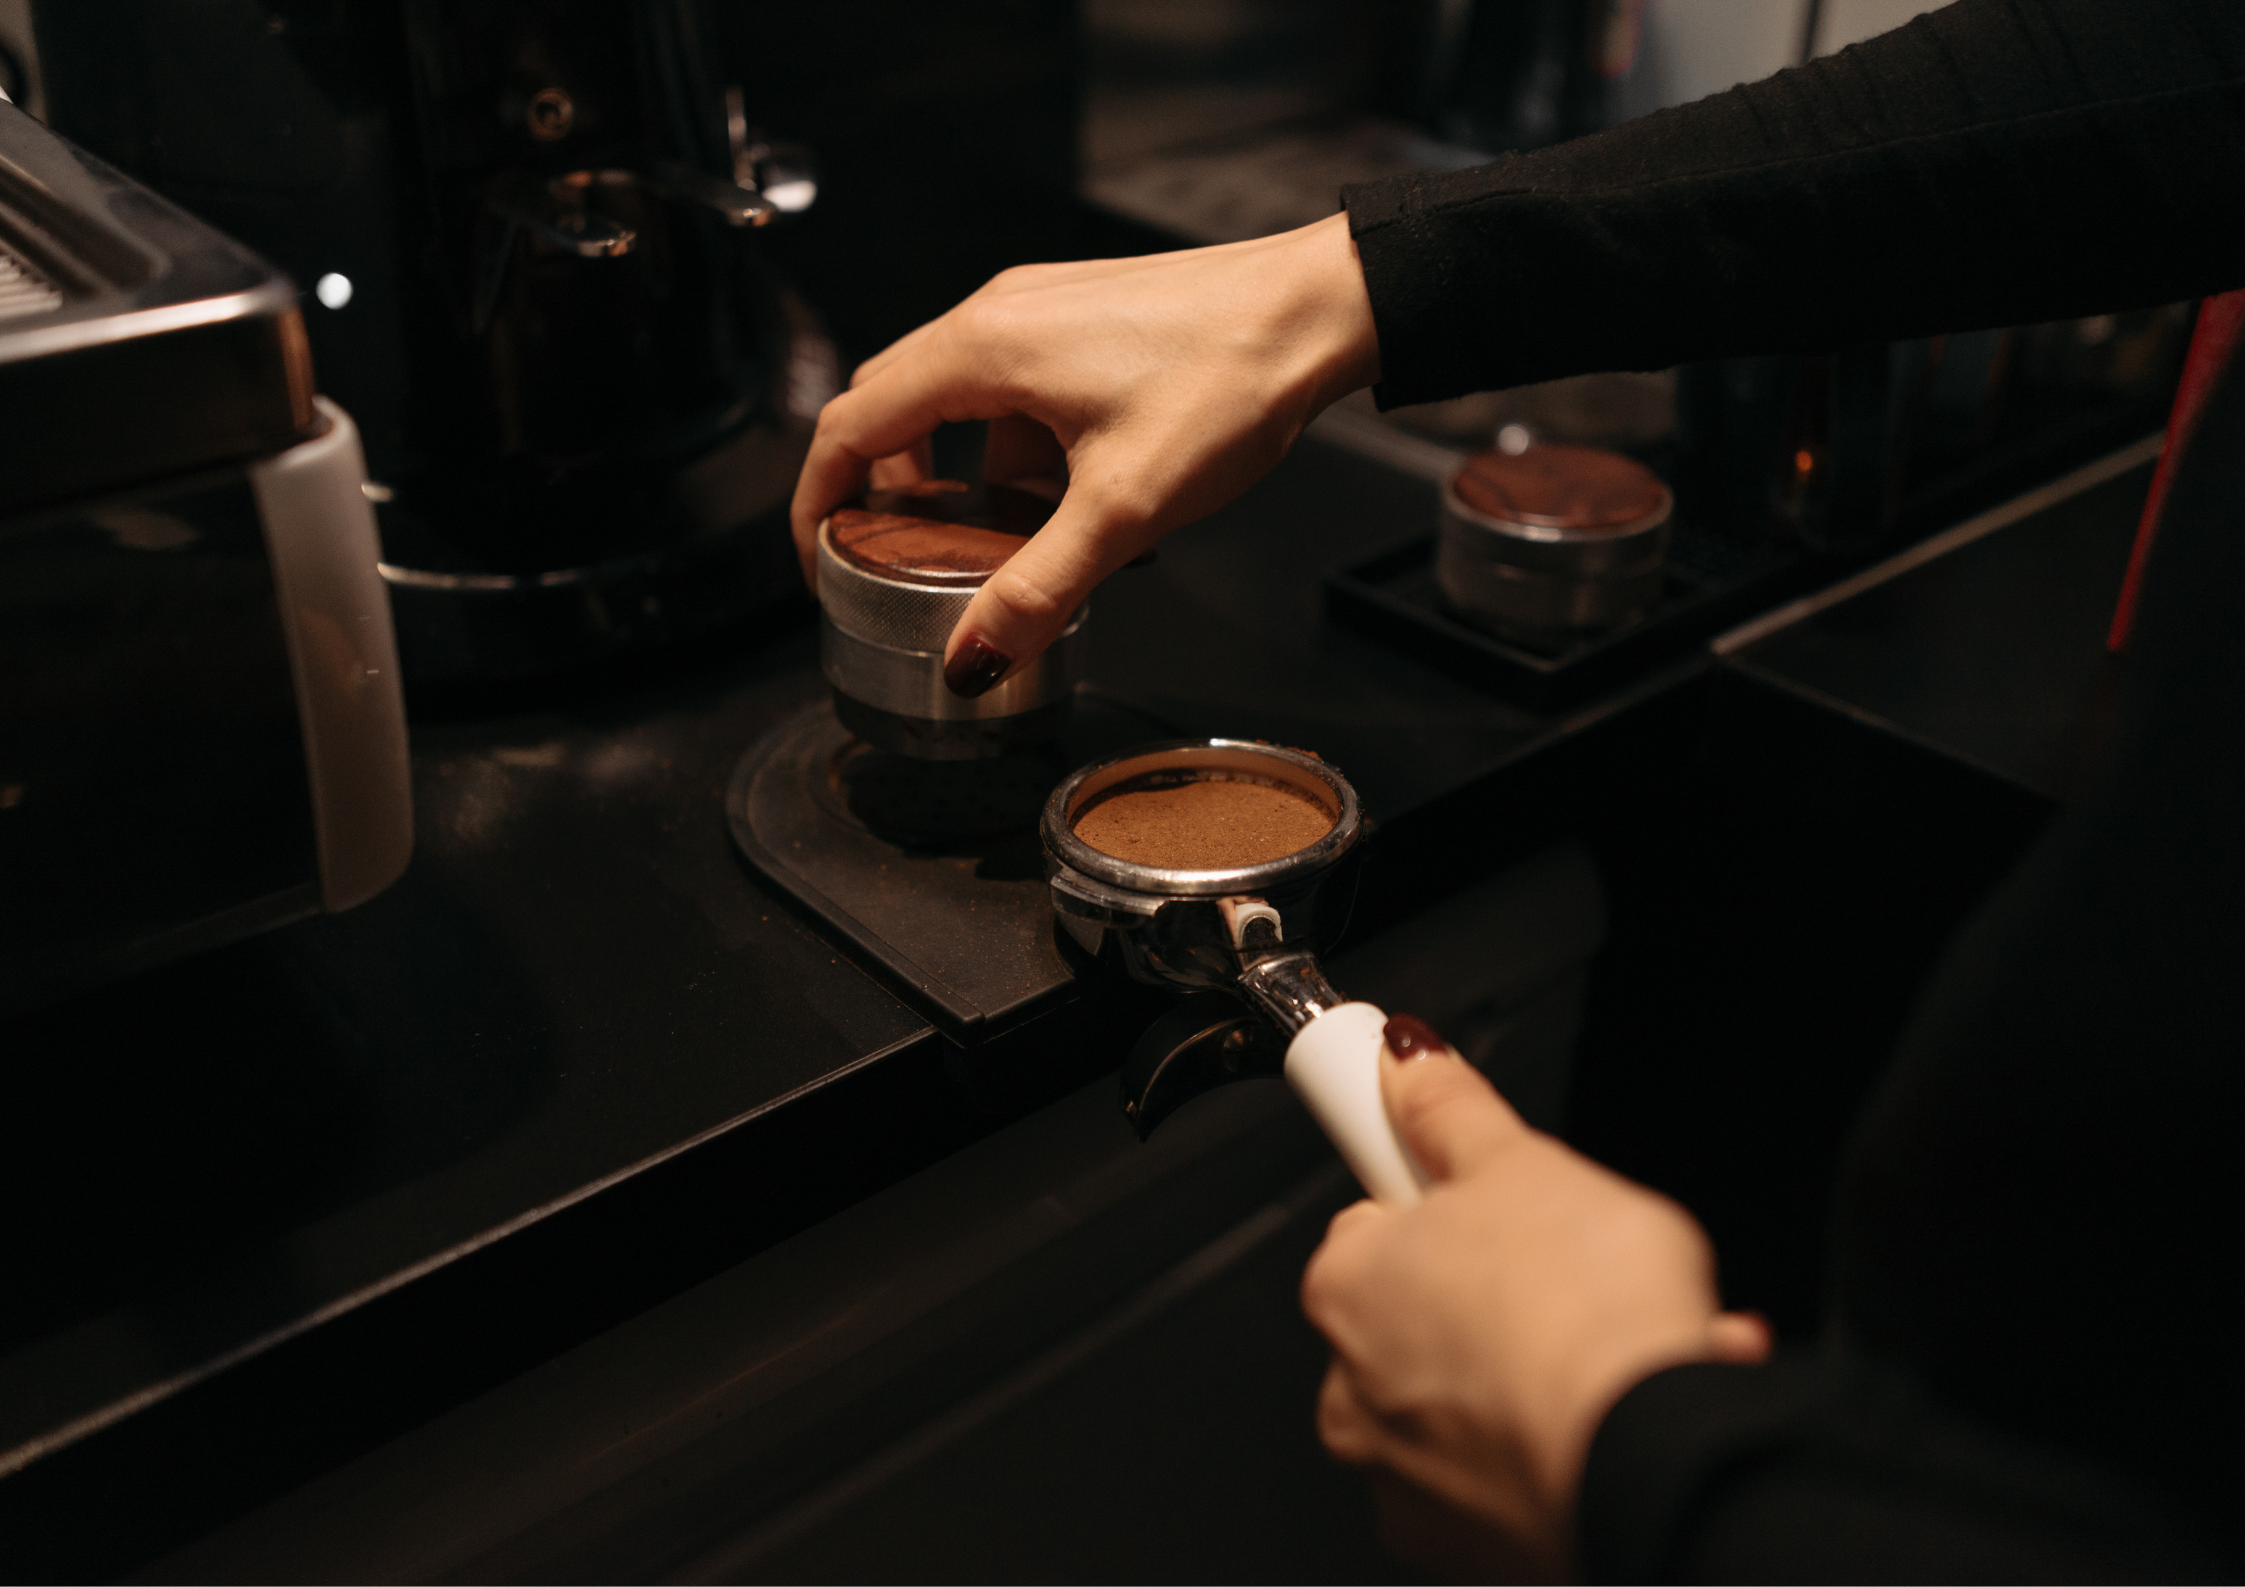
Dose, yield, and puck prep
Example of a profile we did recently:
Standard Shot:
Colombian Washed
18g in, 36g out, 9 bar flat, 30 sec
Result: Clean, but overly acidic. Sharp lime, no finish.
–
Profiled Shot:
6 sec preinfusion @ 2 bar
6 sec ramp to 8.5 bar
Hold 18 sec, taper 4 sec
Result: Bright but juicy, florals enhanced, long jasmine finish.
Grinder & Profiling Notes
Flat burrs: Benefit from extended preinfusion to reduce channeling.
Conical burrs: Pair well with sharper ramps—acidity holds better.
Dosing high? Consider reducing the flow rate during the ramp to avoid over-extraction.
Roast too fresh? Use longer declines to mellow volatile compounds.
Your Next Steps
Start building your own espresso profiles by noting down each step, the result and your sensory evaluation of each profile.
Steps and notes you may want to include could be:
Beans: Origin, roast, process
Profile: Preinfusion time, ramp time, hold, decline
Tasting Notes, aroma, body, flavour, finish
Adjustments: What worked, what didn’t
Try a tool like the Difluid Cafe app, which is what we use to log all our recipes from espresso to filter, or go analogue with a notebook. Over time, you’ll see patterns and be able to dial in faster, like a flavour map for each different coffee.
Espresso profiling isn’t just for competition baristas or high-end cafes—it’s a powerful sensory tool for anyone who wants more consistency, expression, and control in their cup.
Let your machine do what it was really designed to. Explore with curiosity, be open-minded and try out different shots to see what suits different coffees best. And most importantly, enjoy yourself!
Keep learning. Keep brewing. Stay caffeinated, and I’ll catch you on the next one.
Check out our latest post on water quality and how this can help you create a better cup.

