Today we will discuss coffee cupping. What it is, why we do it, and the ins and outs of the processes that define a cup of coffee to be better than another. We will also briefly explain how to cup coffee at home so you can start developing your sensory skills too.
So let’s get started!
What is Coffee Cupping?
Coffee cupping is an industry standard from farm to roaster that helps coffee professionals evaluate the taste and aroma of a coffee. Another name for coffee cupping is cup tasting.
Coffee cupping is done as a key part for quality control in the coffee industry which helps industry professionals evaluate and understand the coffee flavour profile and origin, observing the taste of the coffee and evaluating the body (which is the texture in your mouth) the acidity (the sharpness towards the front of your mouth or the tip of your tongue) and the finish (the after taste left in your mouth once the coffee has been swallowed.)
Coffee cupping can be done by anyone but is often a professional practice which is done by coffee roasters, Q Graders (Quality Graders) and specialty coffee shops to evaluate the quality of the product they will end up selling to consumers.
Cupping is normally done in one large session either in a farm, roastery or sometimes open sessions which are available to the public – these will include a large variety of coffee samples of different or the same origin, processes, and methods. Having a vast range of these allows for effective decisions when you are looking to purchase new coffees for your roastery, coffee shop etc. A public coffee cupping is also a very useful activity to open up your horizons and try out new adventurous coffees from all over the world. If you’re based in the UK, you might be interested in a public cupping from Origin Coffee Roasters.
Cupping can also be used to decide roast profiles and brewing methods – the majority of coffee roasters will perform sample roasts to give them a baseline of which type of profile they’re aiming for. They’ll then cup the sampled coffee, and that will give them a detailed evaluation on where they need to make amendments when roasting the larger production batches.
How to Cup Coffee
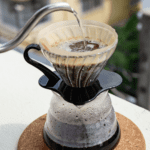
To cup coffee, the process is very simple. But ensuring that all the steps involved are controlled is very important to get the best results possible.
You’ll need the following equipment:
A scale, grinder, filtered water, kettle, cupping bowls or glasses, cupping spoons, a timer and a notebook and pen.
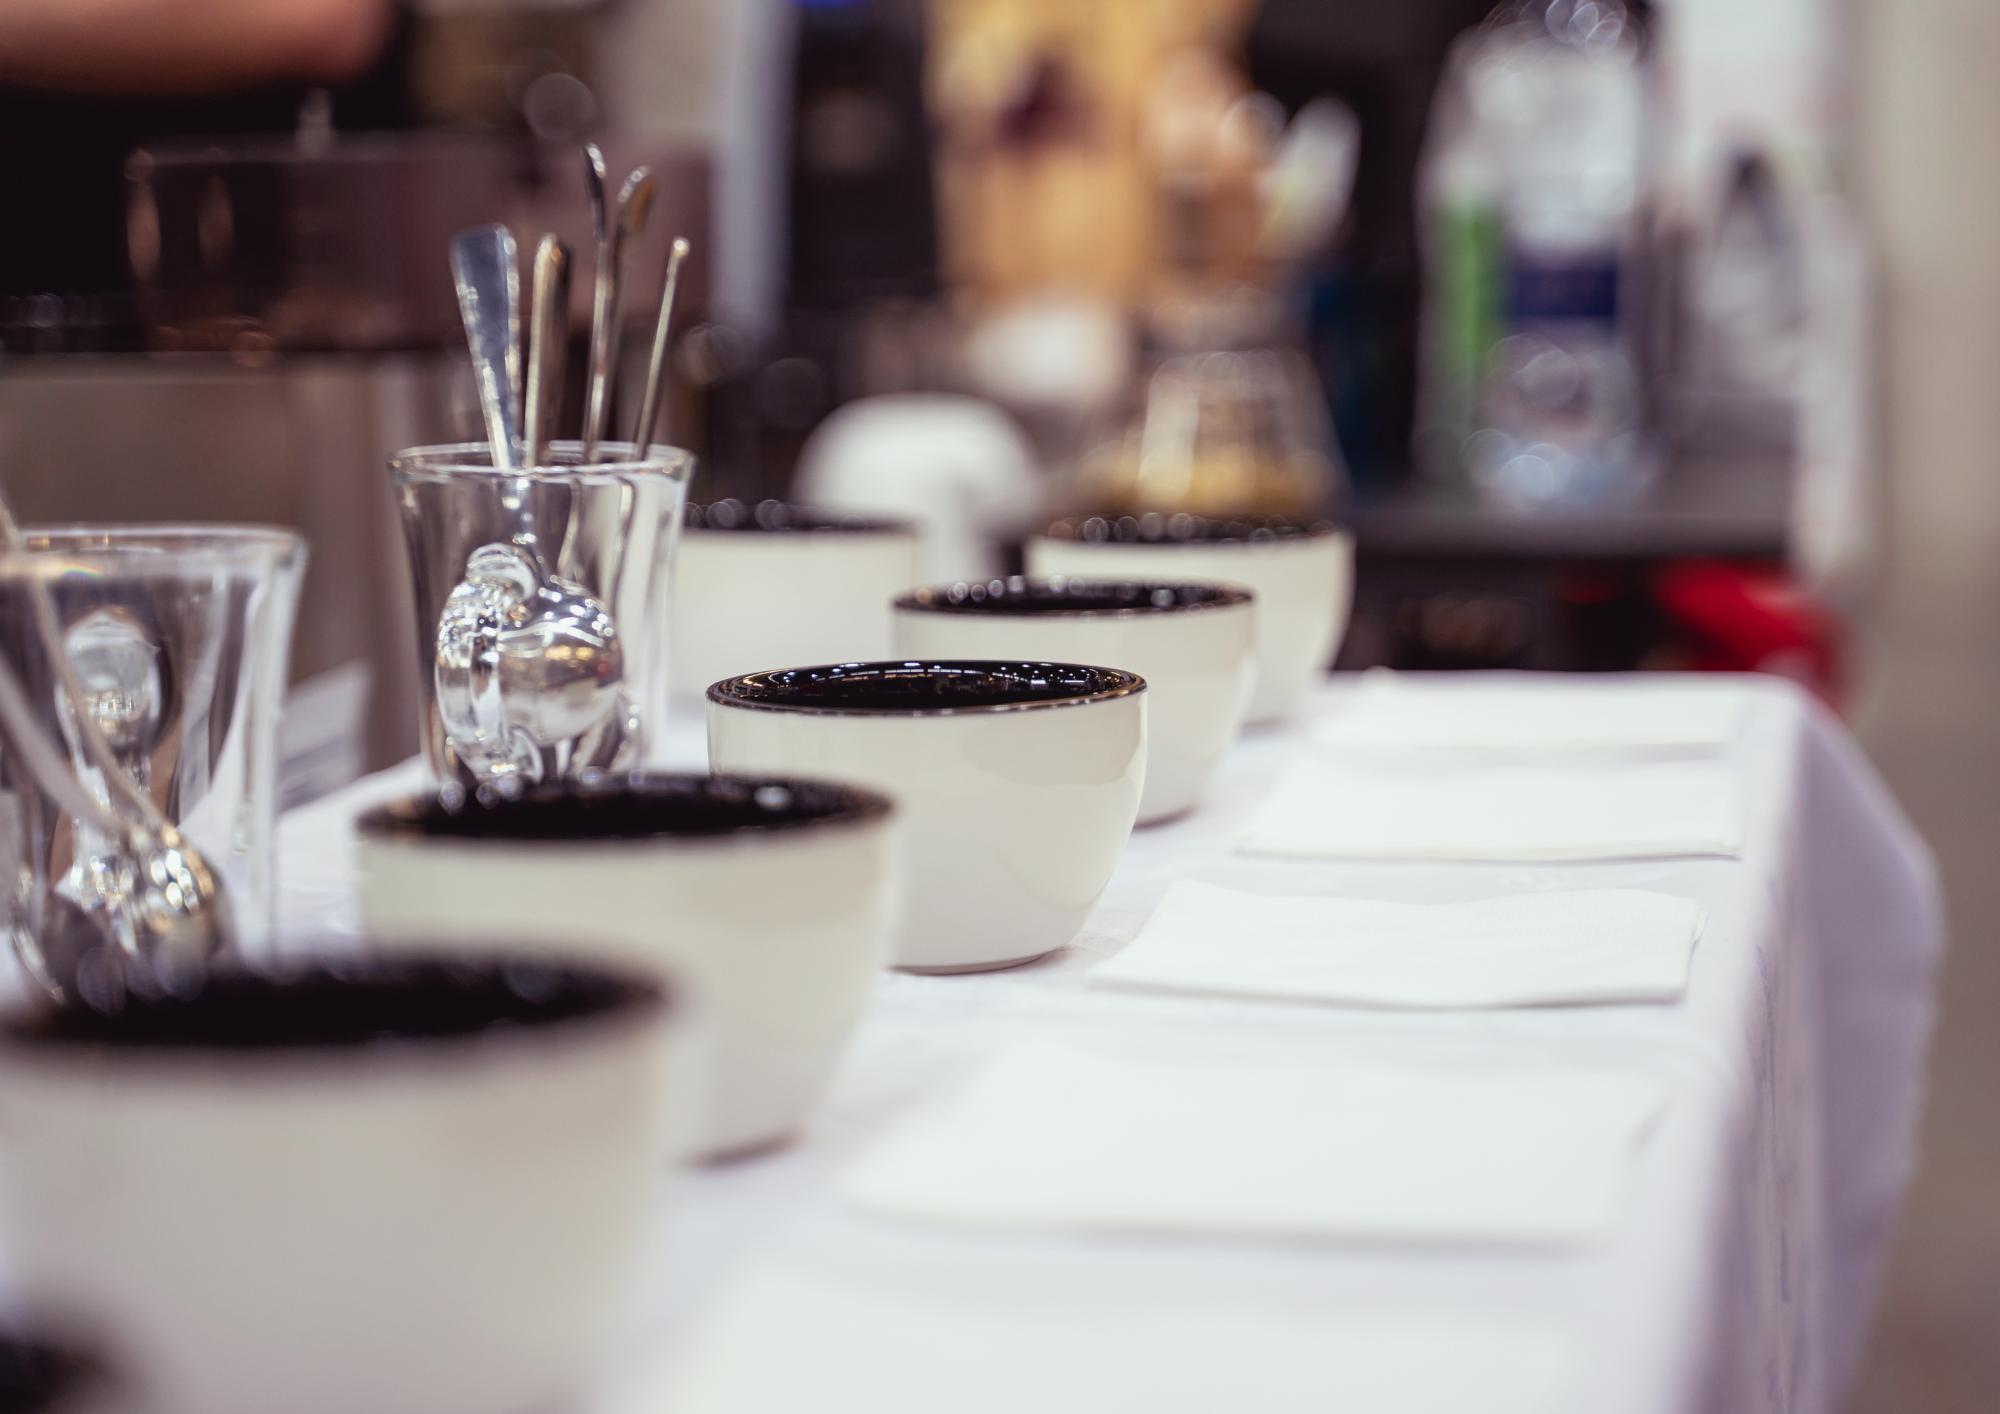
Prepare a quiet room free from distractions.
A cupping room should be calm and peaceful to give the experience and coffee your full attention. I usually like to play some sort of ambient music to put my mind at peace when organising a cupping.
Prepare your coffees
First off, set up your coffees. You’ll need to purge out your grinder. I like to do this by adding 3 beans of the coffee I’ll be grinding first, then grind my cupping beans once all the old coffee has been knocked out.
To ensure consistency, make sure you use the same amount of coffee and the same grind size for all of your coffee samples. i.e. when I prepare a cupping, I use Rhinowares or Barista Hustle cupping bowls with 11g of coffee and grind setting 11 on the Mahlkonig EK43 grinder. Then I pour up to the rim of the bowls with hot (around 95 degrees) filtered water.
I like to start by grinding and purging all of my coffee samples, making sure I note down which coffee is which, then evaluating the dry coffee aroma by smelling each coffee before we pour the water.
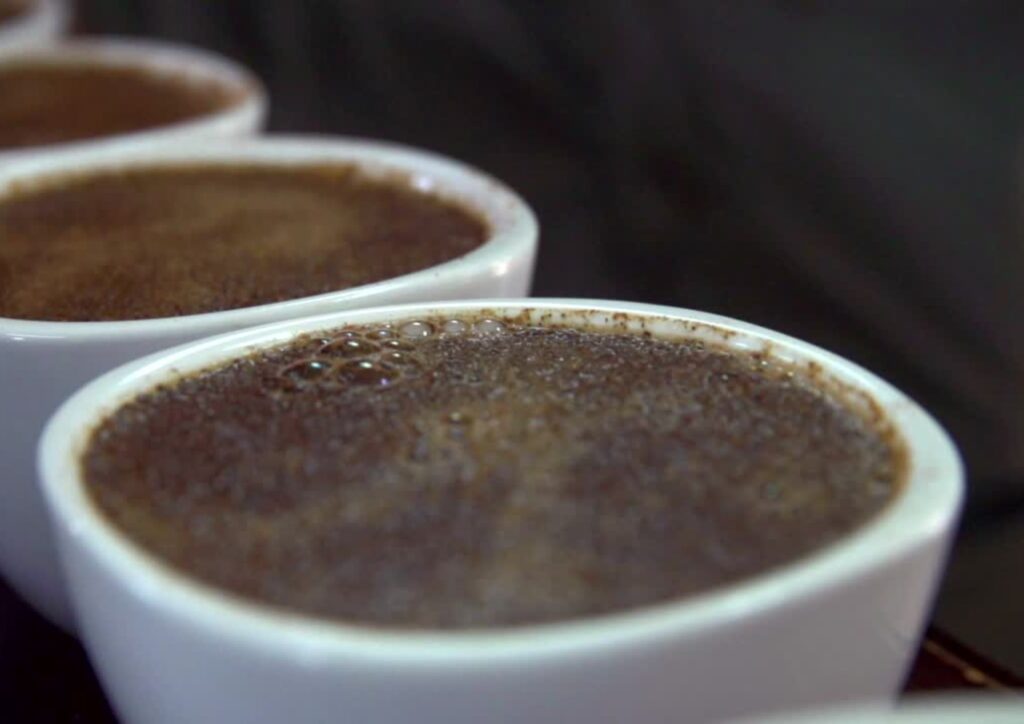
Next you’ll need to set a timer and add water to all of your coffees. At around 4 minutes, you will want to break the crust and scoop the foam that forms on top of the coffees with a spoon and again crouching down and giving the coffee a smell. I like to sometimes take notes on the differences between the dry and wet aromatics of each cup.
When scooping the crust and foam, use a coffee cupping spoon to ensure consistency. This is similar to a soup spoon but deeper. When breaking the crust push the crust about ¼ inch under the surface with your spoon in a circular-like motion, kind of like a rowing boat.
When scooping the crust you’ll need to use two spoons gently and make sure you leave as much liquid in the bowls as possible, otherwise you may agitate the cups and the rate of extraction will increase. Ensure you break and scoop the crusts of each sample the same way to keep the consistency nice and even.
Taste and sample the coffee
Now it’s time to taste and sample the coffees. When I organise a cupping, I like to wait for the timer to hit around 13-14 minutes. This gives the coffee a nice amount of steeping time and it’s not too hot to taste.

Dip your spoon into a clean glass of hot water, rinsing your spoon, then dip it into the first coffee sample and slurp and taste the coffee. Rinse your spoon (this is good manners and it keeps everything and everyone clean and hygienic) and go onto the next one. Remember, you don’t have to be the loudest slurper in the room but the cupping slurp does increase volatile movement to the olfactory epithelium by 130%. Slurping is done to increase the flavour and aroma perception, but do it however you feel comfortable.
Cup each coffee as many times as you like. The coffees will change in taste as the temperature decreases so I advise going around the table a few times, making sure you take some notes and write down your thoughts and evaluations of each coffee.
Cupping is great—there’s no doubt about that. It helps build your senses and increases your sensory skills to identify coffees more easily. You learn how to describe the tastes of coffee as well as teaching your pallet about the 5 basic senses (bitter, sweet, sour, salty and umami) but it takes some time and getting used to.
So, just train your pallet and stay consistent until you get better and better at it. But never be afraid to ask questions. I’m very lucky to work in a coffee roastery where our quality control coordinator is always open for questions and he aids and helps immensely. But keep going and stay motivated! I hope this has helped!
For now, enjoy. And I will catch you on the next one.