When it comes to gravity drip coffee brewing (pour over), there are endless options in today’s market that you may want to consider. But I am here to help you choose the most basic and budget-friendly equipment that will help you get started with pour-over coffee and get a great, consistent brew every time.
As you get into drip coffee, you will become more confident in recipes, technique, and physics, all things you’ll learn throughout your brewing journey.
I don’t want you to get overwhelmed by the amount of ‘fancy’ equipment all the Instagram coffee gurus use. Yes, they may be great bits of equipment, but trust me, to start, you don’t need them!
I always say, start basic, learn the concept, perfect the concept and then if you want to upgrade research the best equipment that will aid you to progress in the areas you need to improve and then make a final decision from there.
But today I will share with you the best equipment to start your pour-over journey and to get your brews perfected with some great starter recipes along with some tips and tricks I’ve learnt along the way, and some great coffee roasters that will also help you get started in indulging in that perfect filter coffee brew.
Equipment You’ll Need to Get Started
1. Dripper
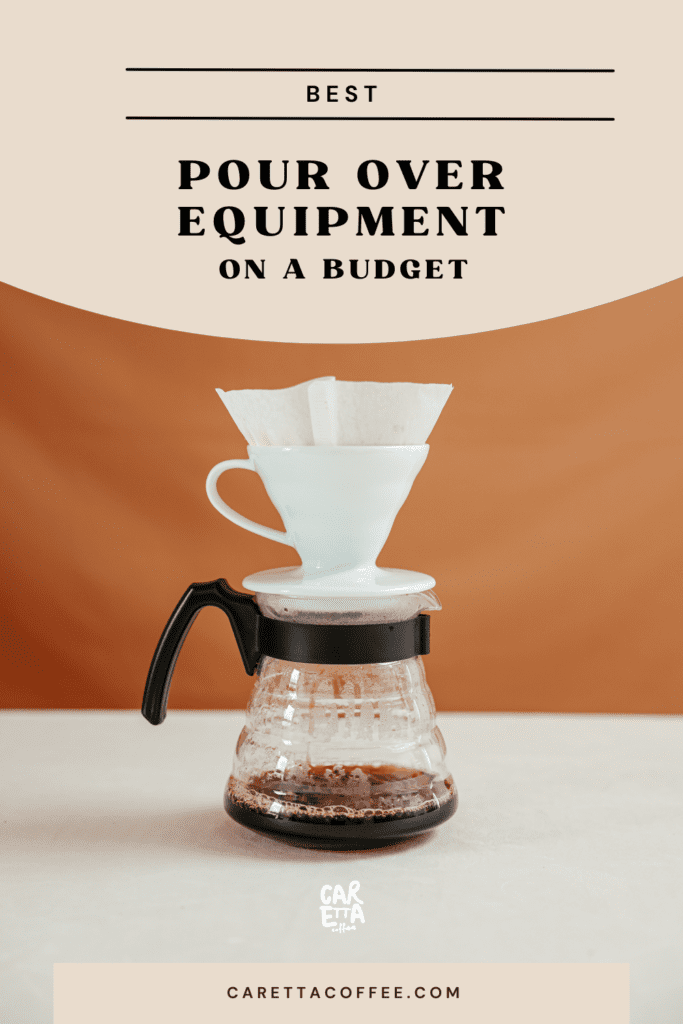
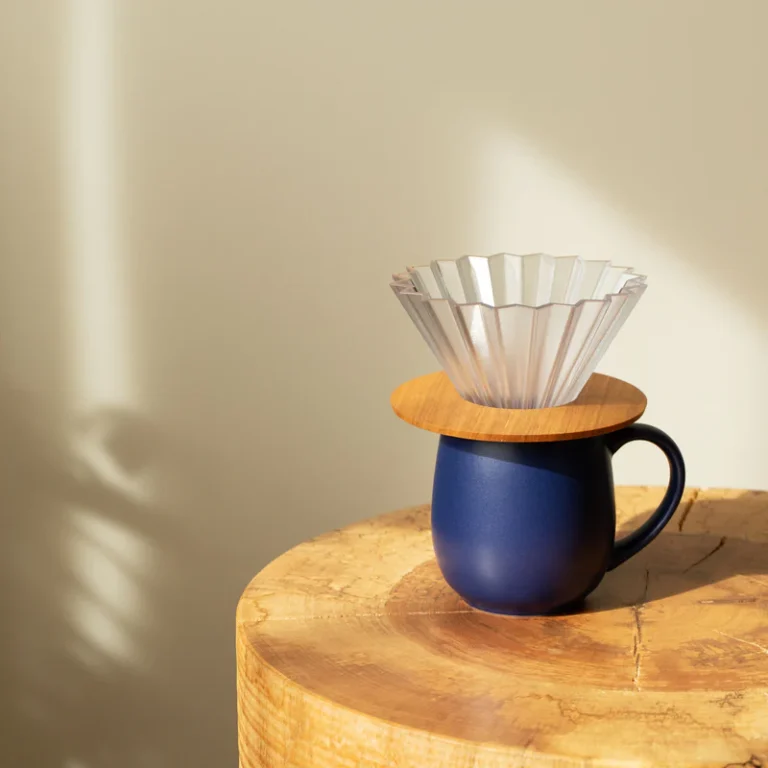
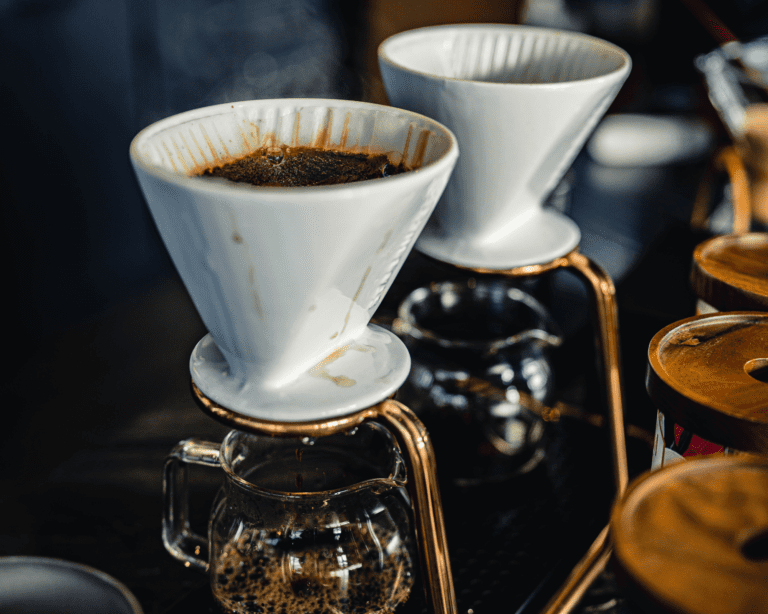
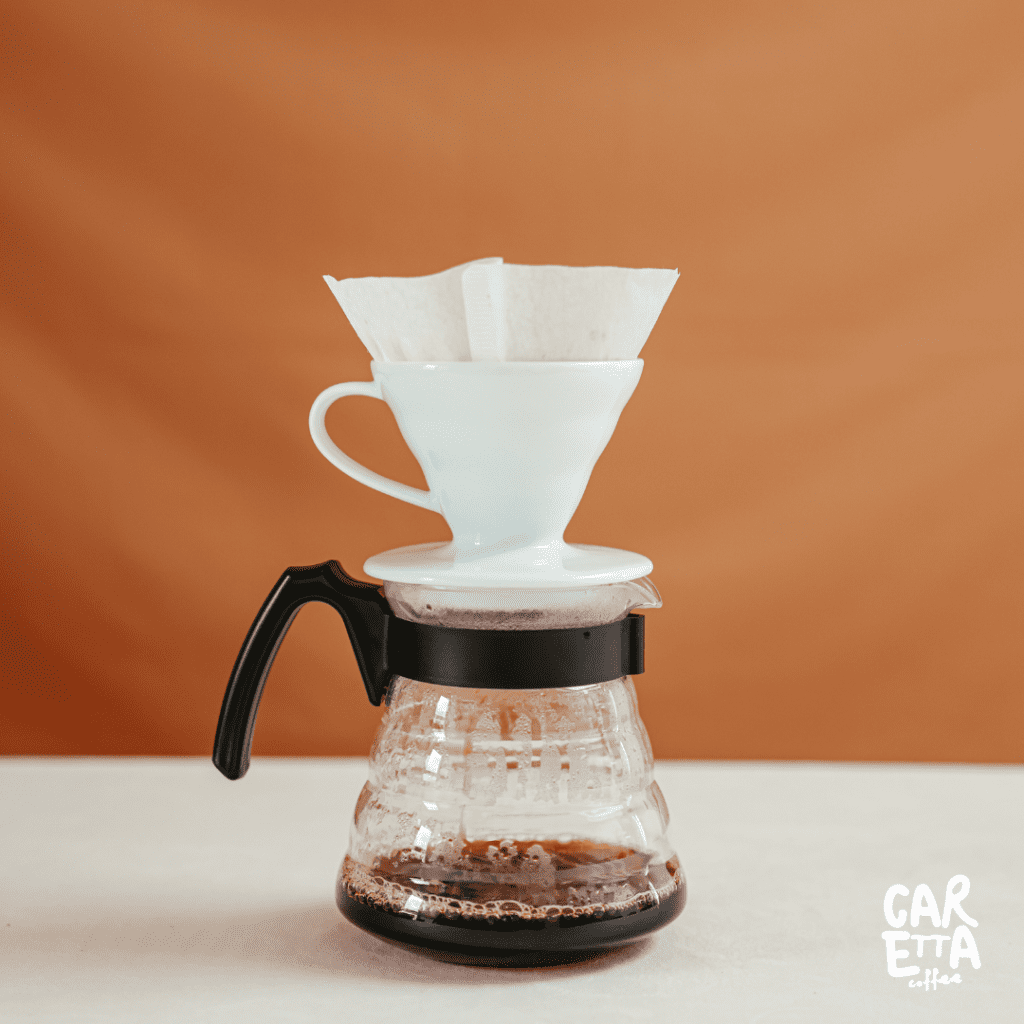
To start you’ll need a dripper: A cone-like object which when a paper filter is inserted allows coffee to drip through and extract flavours from the grounds. There are many to choose from but as we’re getting you started, I recommend the following as the best and most consistent in quality:
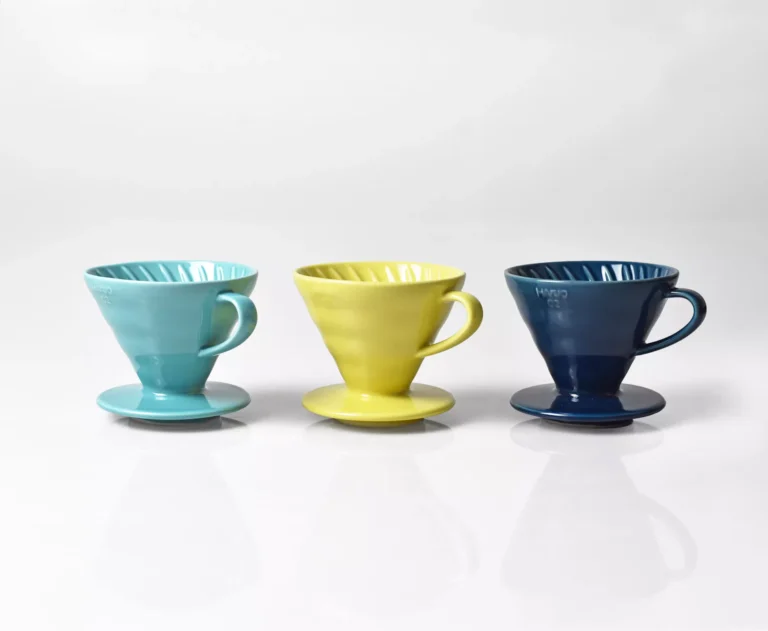
The Hario V60 Coffee dripper is one of the original OG’s of pour-over drippers, its design produces easy-to-use functionalities without breaking the bank. These are available in different sizes and materials; Plastic, Ceramic, Copper, and Glass.
Out of the three V60 drippers linked below, I recommend the plastic size 02 dripper the most, this is because of heat retention and plastic. Plastic retains heat much easier than glass, ceramic or metal so your brew will keep its heat throughout the entire brewing stage. We will cover heat retention and coffee in another post shortly.
1: Hario Clear Plastic Dripper – BEST OVERALL!
2: Hario Ceramic Dripper –
3: Glass Hario Dripper size 02
2. Server
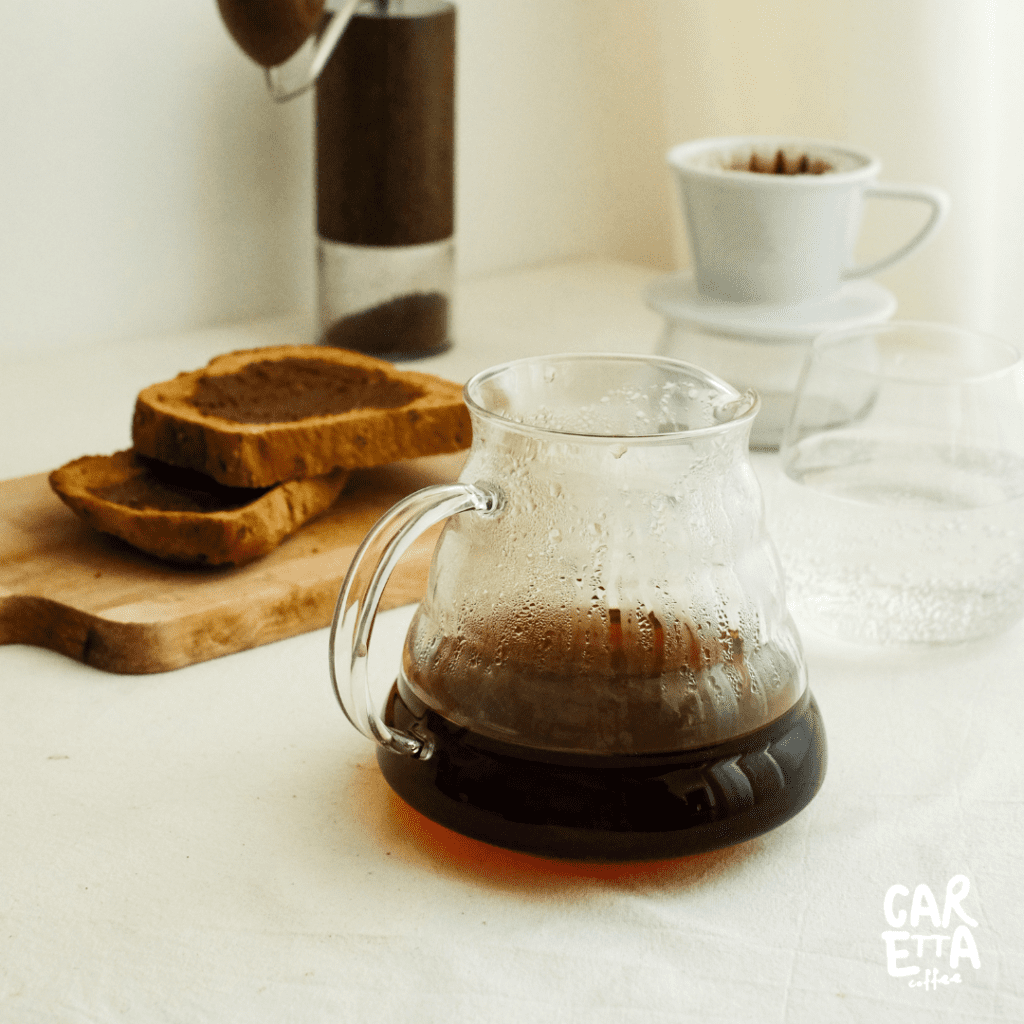
Along with your dripper, you’ll need a decanter, carafe or server, but you can always use a large cup to do this, I recommend getting a server as just like in wine there’s a reason the glass is shaped a certain way, but we will dive deeper into this on a different day.
Below are my favourite budget-friendly servers (I currently have a 600ml Kinto)
Gonnely Glass Pour Over Server – BEST BUDGET SERVER!
Kinto 600ml Glass Server
Hario 700ml Coffee Server
3. Filter Papers
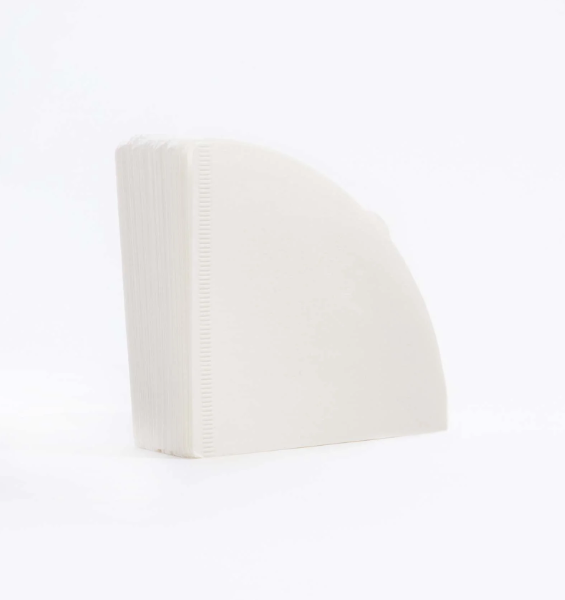
The filter papers are a key component to a great consistent brew, you’ll get around 50-100 in a pack (depending on the filter paper brand) don’t cost the earth. And 100 coffees are a fair amount if you only have a couple of brews a day.
Size 2 Hario V60 Papers
Size 02 White V60 Papers – Amazon – BEST BUDGET PAPERS!
Size 2 Amazon Unbleached Filter Papers
4. Gooseneck Kettle
Here’s where some may say it gets tricky.
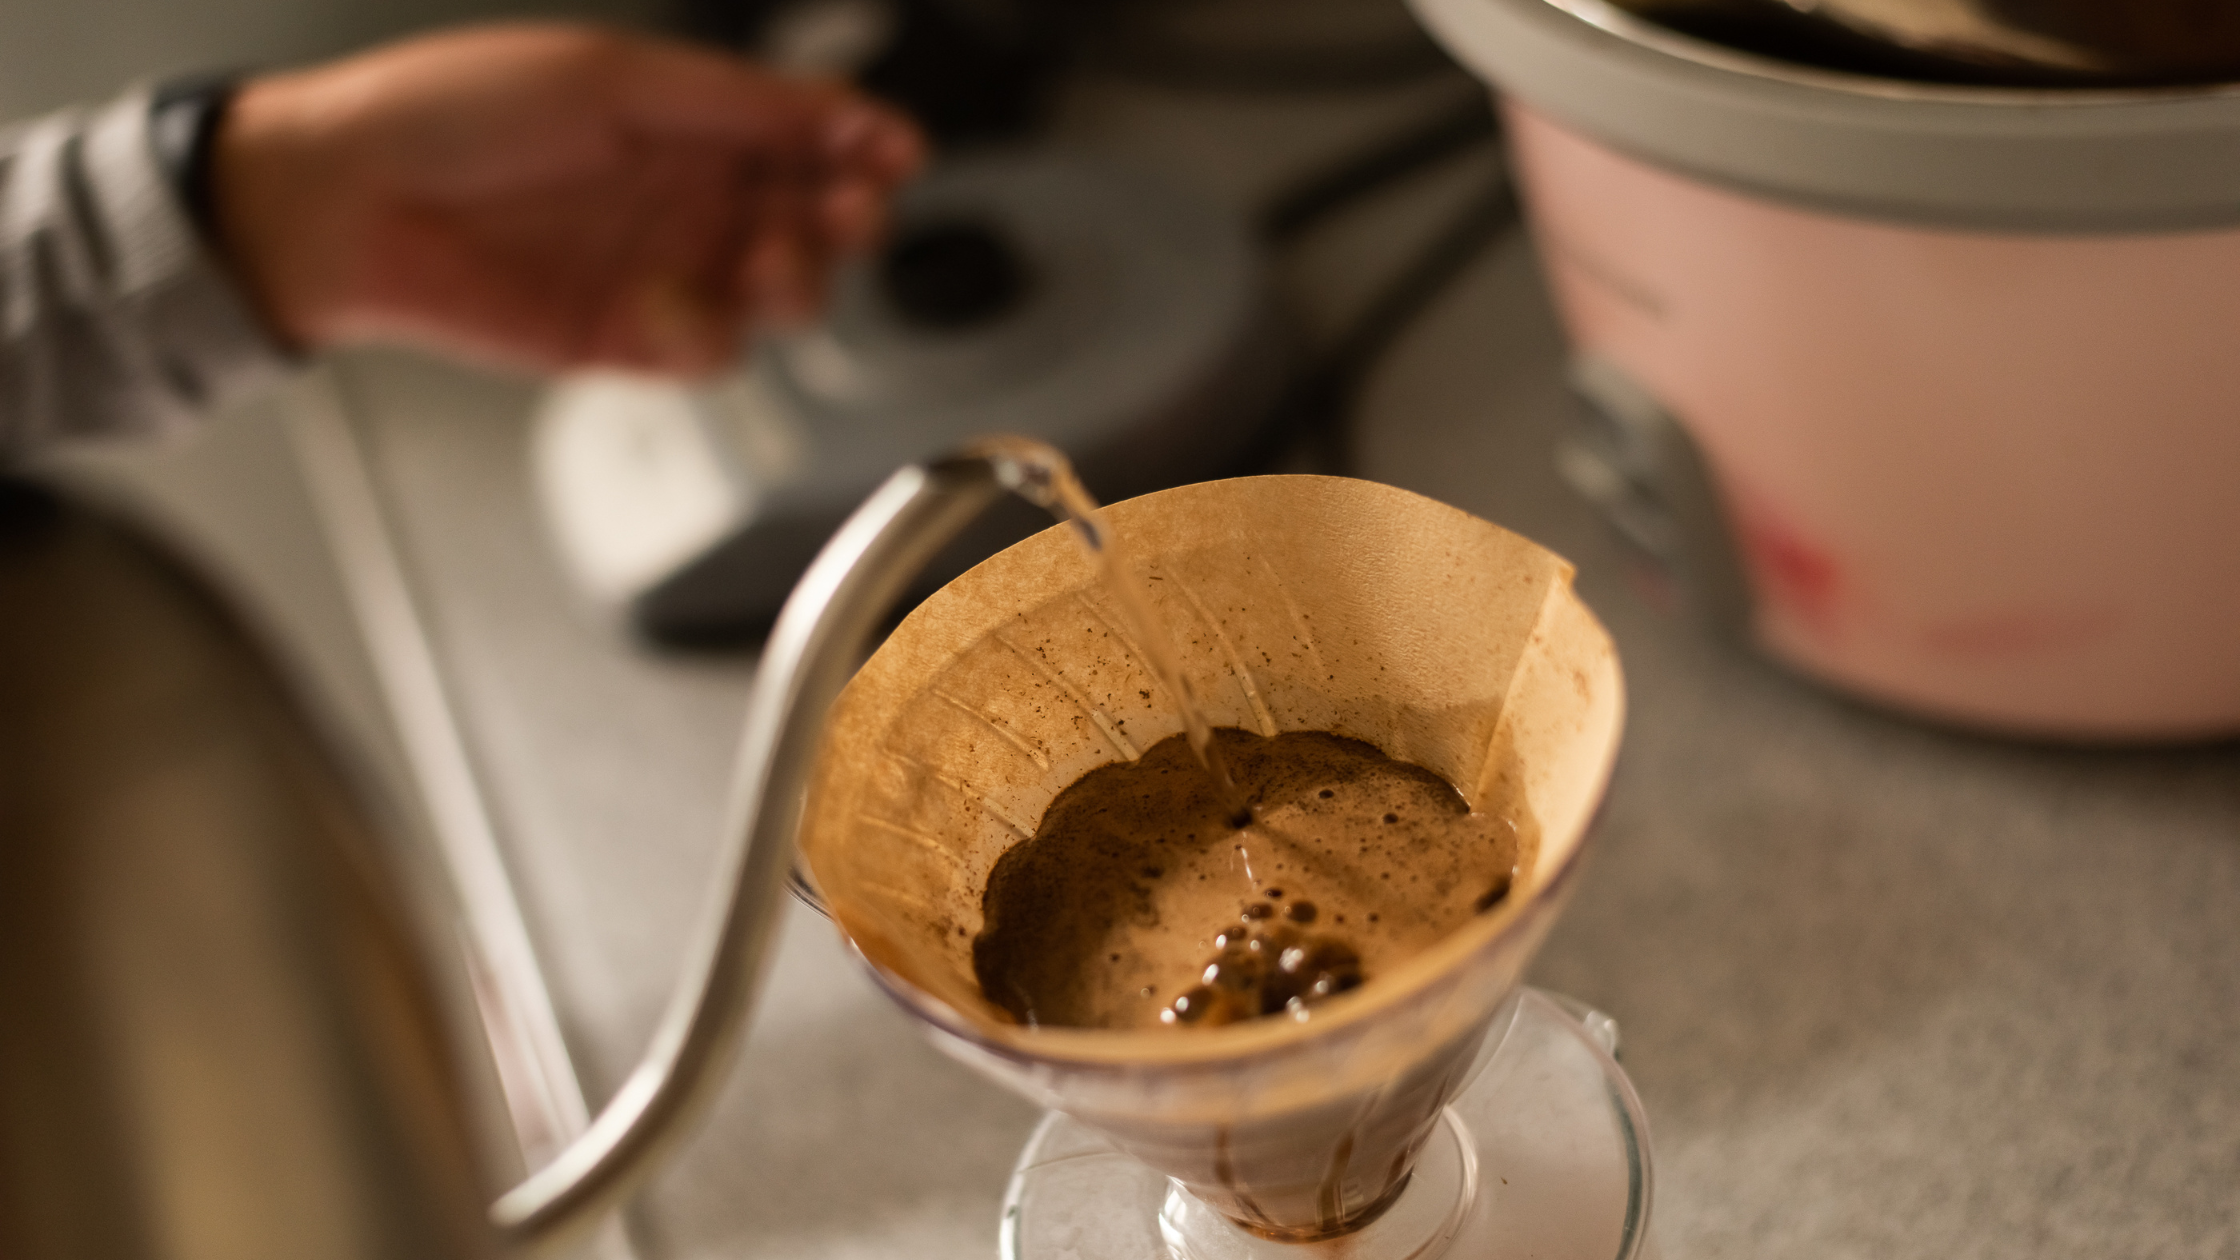
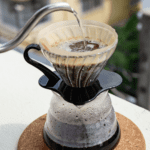
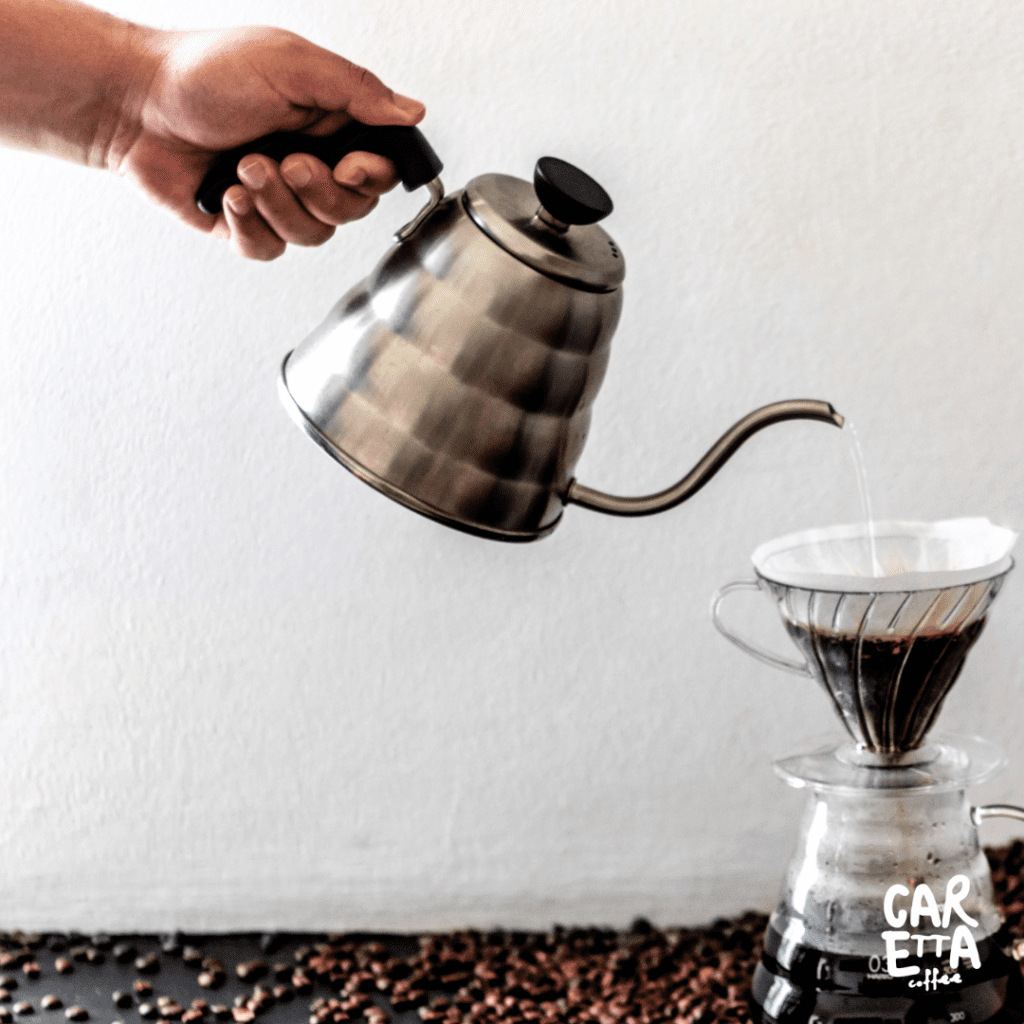
Gooseneck kettles are a very key component in creating a great brew. They allow you to control the flow rate of the water and immerse the coffee grounds more evenly to get a cleaner cup.
So, I am going to recommend what I started with a stovetop gooseneck kettle. All you do is fill it with bottled or filtered water (we will dive deep into water in coffee on a different day too)
put it on your stove, wait till it heats to around 85-95 degrees and we’re ready to brew.
Temperature-controlled kettles do create a more even cup due to the temperature staying the same, but for a beginner, it’s best as I said to perfect with minimal equipment then when you know you’re ready, upgrade from there. With a stovetop gooseneck kettle, you can learn to control the flow of water on your brews without breaking the bank but still get a delicious cup of coffee every time.
EylbKey Stove Top Kettle – BEST BUDGET GOOSE NECK KETTLE!
Mermoo Stove Top Stainless Steel Kettle
Hario Buono Stove Top Kettle
5. Scale
This one is very important.
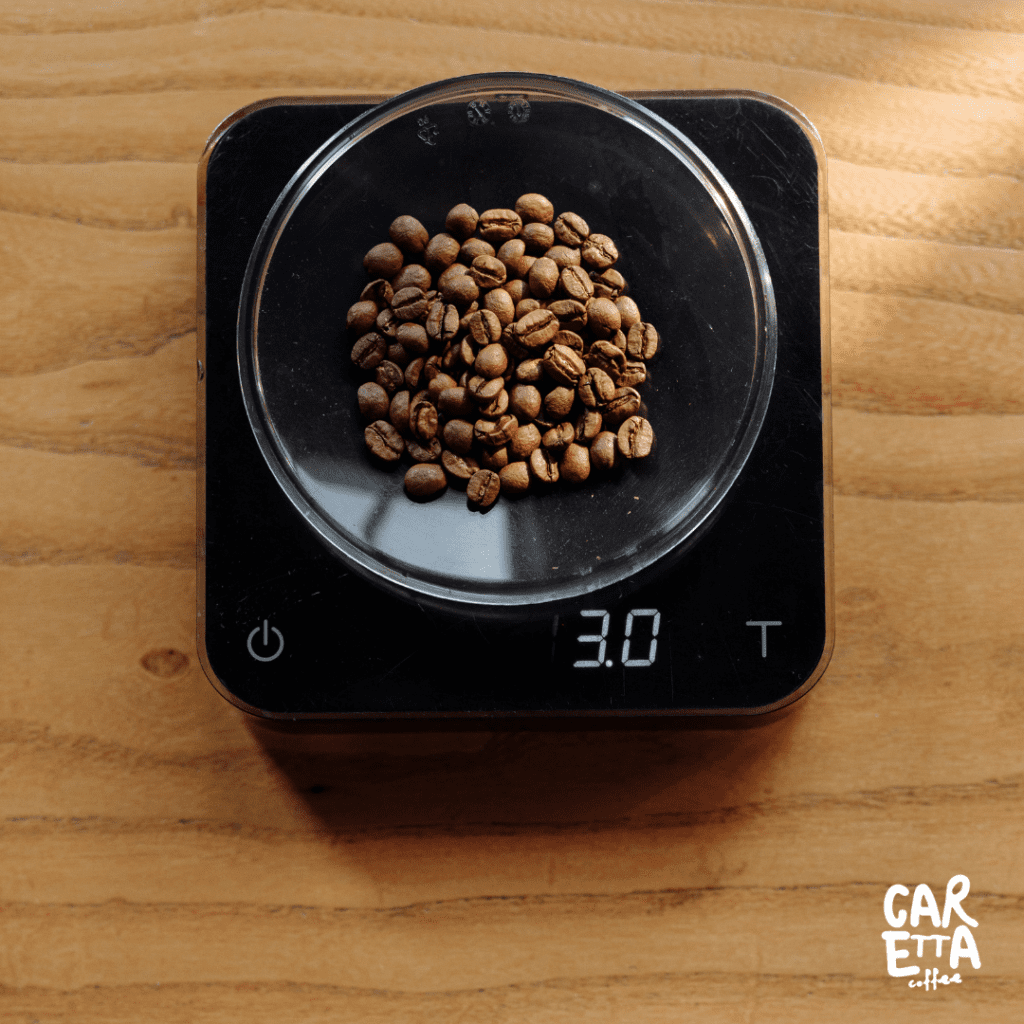
A scale provides us the ability to weigh our beans and ground coffee, as well as the amount of water we put into our coffee.
As well as this most coffee scales offer the option of timing our brew on the scale at the same time as weighing. We will go through how to use a coffee scale for drip coffee later.
Here are my recommendations for coffee scales on a budget. I currently use the MHW-3Bomber digital coffee scale and it’s proven consistent every time I use it. And the battery life is phenomenal considering I use it 3-4 times per day see full review
1: Timemore Black Mirror Scale – BEST OVERALL!
2: Bagail Drip Coffee Scale – Amazon
3: Hario V60 Scale
6. Grinder
And probably one of the most important bits of equipment needed for creating the best and most consistent brews is a coffee grinder.
Yes, you can buy pre-ground specialty coffee but I always say to people try and grind your own. We will cover more on this in another post (Coffee Freshness Grind or Pre-Ground) but grinding your own coffee you can experiment with grind size; your brews will be fresher, and they will taste much nicer and push different flavours out of the coffee.
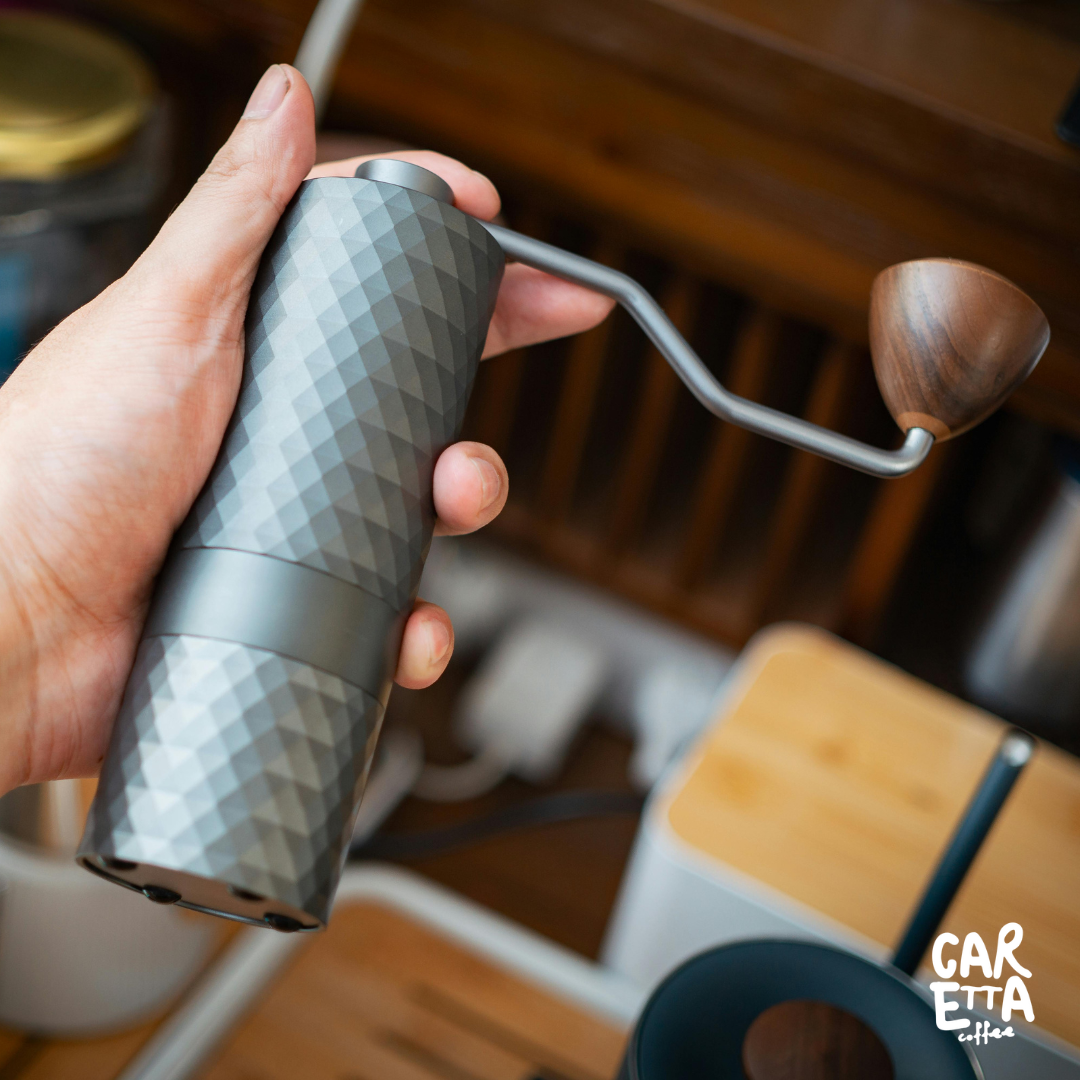
Below are a few hand coffee grinders I recommend. A Hario and a couple of others. Hand grinders are the best tools for pour-over brewing due to being able to single dose your coffee easily and a majority of the time are much more budget-friendly grinders compared to an electric grinder. I currently use the Timemore C3 Pro and a Comandante C40 MK4 but we will get into an in-depth review of these at a later date.
1: Hario V60 Grinder – BEST OVERALL!
2: KINGrinder P2
3: Timemore C2 Hand Coffee Grinder
So that’s really all the equipment you need: A dripper, filter papers, a server, a gooseneck kettle, a scale, a grinder and of course you’ll need some coffee beans.
As a starter, I’ll recommend some great starting coffee roasters where you can purchase beans easily online that taste great and have different tasting profiles that suit generally all-rounder tastes or if you’re feeling adventurous, coffees that taste like fruit juice (my personal favourites) I like to call them ‘Absolute fruit bombs’ among my coffee lover friends and co-workers.
My Favourite all-rounders for Pour Over coffee are:
- Ozone Coffee’s Bolivia Caturra tastes like orange, lime and dark chocolate.
- A Matter of Concretes 001 Brazil which is a classic taste of chocolate and nuts.
And My favourite ‘Absolute Juice Bomb’ roasts are:
- Scenery Coffee Roasters Ethiopian Natural which tastes like blueberry pie.
Now that we’ve covered everything you need for your beginner pour-over equipment set up it’s time to start brewing!
I always say, enjoy the process. Coffee brewing is meant to be fun, a journey of experimenting with different variables to get different types of brews.
Here I cover the easiest beginner pour-over recipes so you can nail a perfect cup.
Check it out and I’ll see you soon.
