Hey guys,
Welcome back,
Today, we’re diving into a hugely impactful and often misunderstood variable in filter coffee brewing: agitation. More specifically how extraction, flavour, acidity, sweetness and clarity can be impacted if agitation isn’t part of our recipe.
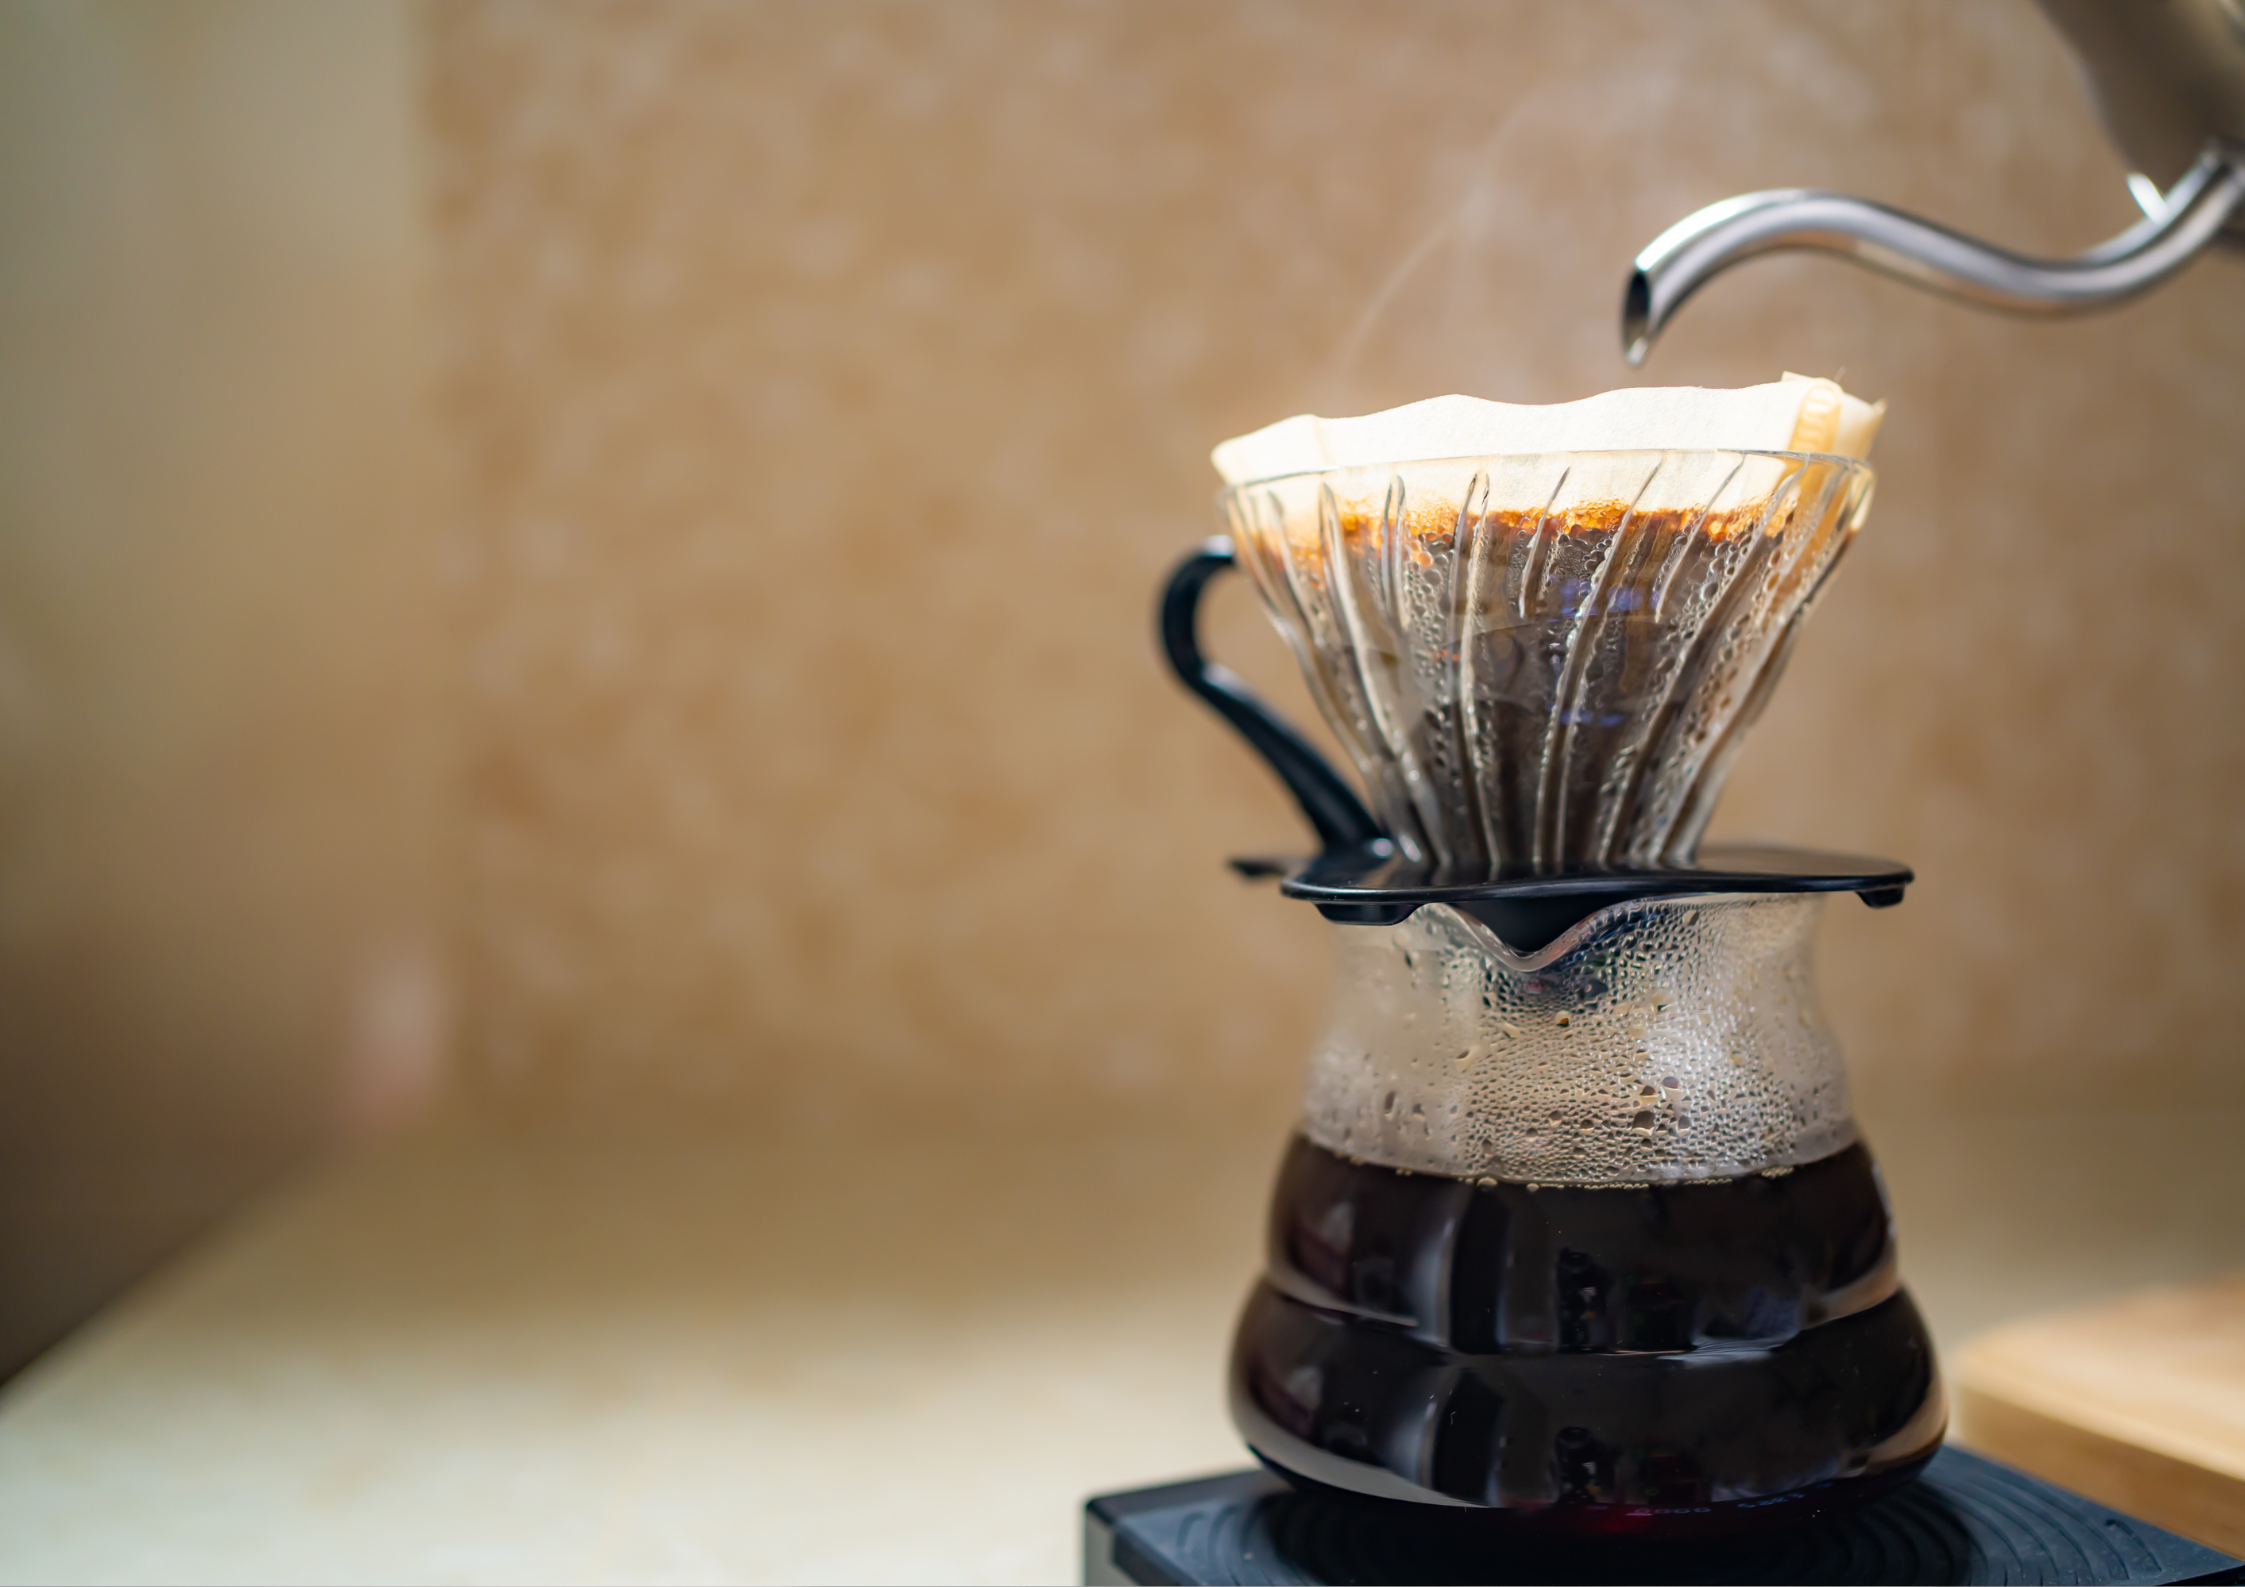
Whether you’re using the Caretta Coffee favourite the Origami Air S, stirring your bloom with a WDT tool or using natural agitation through conrolled but vigorous pouring with your kettle. Agitation is a very important role in brewing filter coffee, and today we’re going to talk all about it, why it’s so important as well as some V60 tests at the end to compare different types of agitation and how it affects our extractions as well as the overall taste of the brew. So let’s get started
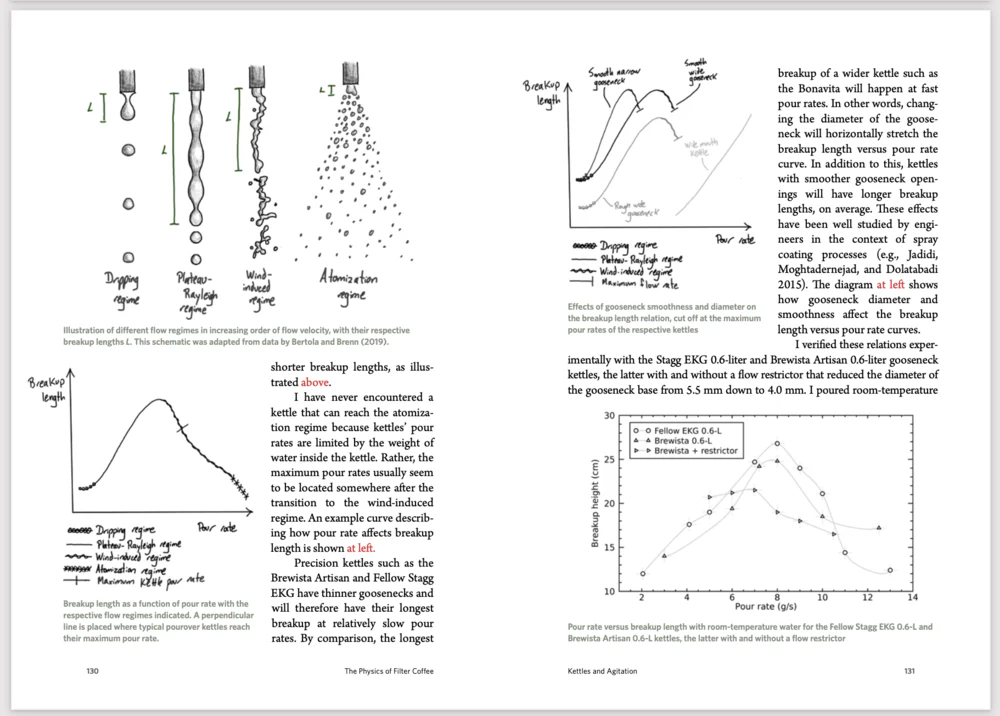
We will also pull a few tricks out of The Physics of Filter Coffee by Jonathan Gagne, and we hope once you’ve read and put the aspects of this article into action it’ll help up your brew game and you’ll be making better filter coffee in no time.
What is Agitation?
Agitation, put simply, is the physical disturbance or slow/fast movements of the coffee’s slurry (the slurry is basically a mixture of ground coffee and water) and this happens during our brew. Forms of agitation can include:
- Stirring our brew with a WDT tool or a teaspoon
- Swirling your dripper
- Faster pourin,g which causes natural turbulence
- Pulse pouring in the centre of our brew
- Tapping our dripper
All agitation’s goal is, is improving the contact time between our water and our coffee; it helps with a more even extraction, and our coffee grounds will be more evenly saturated.
Why it Matters
Jonathan Gagne, the author of ‘The Physics of Filter Coffee’, states that agitation has various impacts on the following things:
- Wetness uniformity
- Bed homogeneity
- Extraction and yield consistency
In Gagnes book, he points our that even what would seem to be a very small or minor variable like a 3-5 second swirl, it can completely change our extraction curve in a cone shaped dripper like a v60 or an origami, and he even calculates this using a refractometer, this shows that un agitated brews will suffer the concequence of under extraction in the outside of the brew and over extraction in the centre of the brew
This will then lead to our cup tasting empty, flat, astringent, and nothing going on, a bit boring. So, when we agitate right, we can allow the coffee to thrive in all of the right places. And after all, that’s why we love coffee so much, right? It’s a vigorous journey of finding and exploring new and exciting flavours.
What are the Different Forms of Agitation?
Here are the most common types of agitation:
The Bloom Stir or Stirring the Bloom
Used during the bloom phase of our brew, stirring the bloom helps with:
- Saturating our grounds quickly and efficiently
- Allowing the bloom to breathe
- Boosting extraction
Gagne states in ‘The Physics of Filter Coffee’ that stirring the bloom is the best form of agitation, especially when using very fresh coffees.
Our Tip: Use a WDT tool or a teaspoon to stir the bloom gently in a North, East, South, West motion for around 5-10 seconds, just make sure you don’t touch the filter paper during the stir.
Natural Turbulence
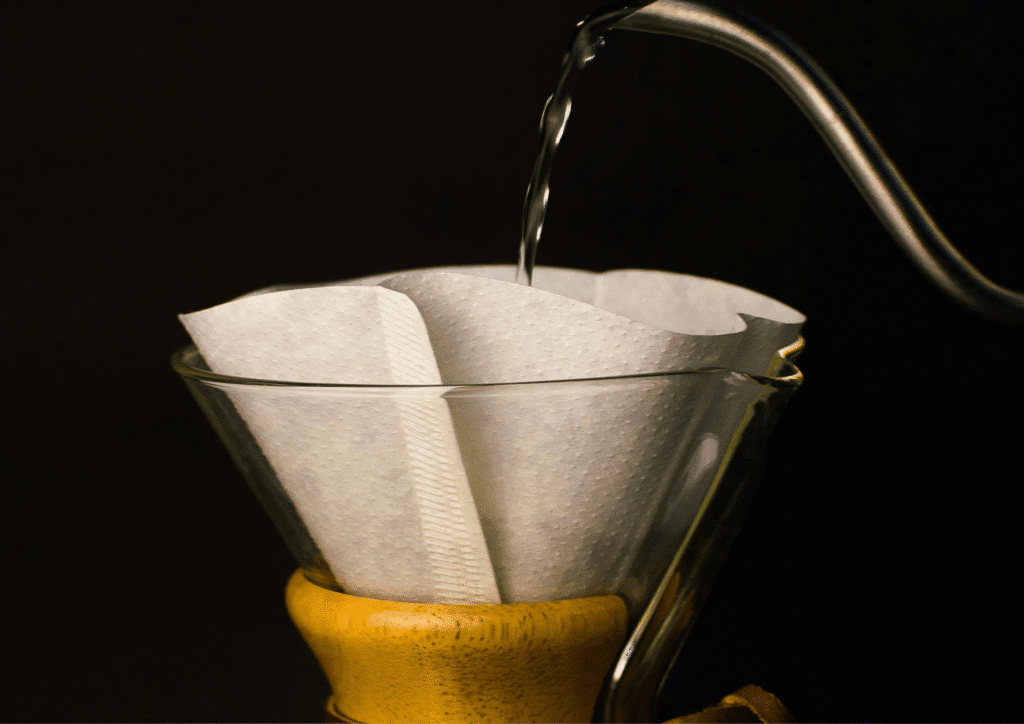
Natural turbulence is Caretta Coffee’s favourite way of introducing turbulence to the brew, but controlled natural turbulence, pulse pouring which helps create a more uniform extraction if done well, especially in flat bottom filter paper.
Jonathan Gagne suggests that higher turbulence is very important in flat-bottom drippers where flow rates have a higher risk of clogging.
Swirling the Dripper
The most common form of agitation is swirling the dripper. It does the following:
- Creates an even coffee bed
- breaks down clump buildup
- helps distribute coffee fines
But there is a catch, try and not swirl too aggressively or too far into the brew as Gagne states it can collapse the coffee bedand this will slow down our drawdown time, resulting in over extraction, muddiness and bitterness in our final cup.
End Brew Tap
Some professional brewers finish their brew with a tap to flatten out the coffee bed whcih helps with reduction in clumping.
Competitive brewers do this to get a more precise drawdown time, they implement this form of agitation into their recipe as a must so that the whole brew becomes uniform if replicated over and over.
Too Much Agitation
Agitation is important; it helps even distribution of coffee and water but over-agitation brings problems into our brews. Some things you’ll want to avoid:
- Over extraction: if you agitate your coffee bed too much or too late into the brew, you’ll extract more bitter compounds.
- Fine Migration: Small coffee particles will settle at the base of your brew, essentially blocking even extraction.
- A collapsed coffee bed: Too aggressive movement of the slurry can flatten the bed and make it collapse, leading to much longer drawdown times and higher TDS.
Gagné’s research emphasises the importance of precision and consistency. Don’t just agitate randomly — treat it as a controllable input, just like grind size or water temperature.
Practical Brewing Advice
North, East, South, West Bloom Stir
- Pour 50–60g or 2.5 times your coffee dose of water for the bloom
- Stir gently with a teaspoon in the north, east, south, and west directions
- Do your second and third pours using a uniform and controlled flow rate
This method will help create a clean, replicable brew which is full of clarity and a nice vibrant acidity. Especially on a V60 or Origami.
Agitation definitely needs to become implemented into your recipes – it helps with all the necessary things we’ve discussed today and overall helps you replicate your brews and allows all the amazing characteristics of your coffee to thrive.
Make agitation intentional, it really does help!
Our Tests:
Recipe: V60, 300g water, 18g, 3 pours – 60g bloom, 45s 150g, 1:30 300g. Washed Tanzanian
Test 1: no agitation, controlled flow rate
Drawdown time: 3 minutes 24 seconds
Taste evaluation: muted, medium, bright acidity when cooled, nutty body, but too short and flat finish
Test 2: Bloom stir, gentle swirl
Drawdown time: 3 minutes 40 seconds
Taste evaluation: smooth but rich, syrupy body, vibrant stone fruity acidity, balanced and medium finish, just what we were expecting from this coffee.
Test 3: natural agitation (turbulent pour)
Drawdown time: 3 minutes 38 seconds
Taste evaluation: balanced, drinkable, sweet and syrupy body, bright acidity as cooled, slightly dry but lingering finish, we preferred the taste of this test compared to the bloom stir. But out of the three, the bloom stir, gentle swirl and the natural agitation tasted the best.
Summary
Agitation isn’t just an optional variable of our recipe, it’s a very important part of your recipe, so use it with meaning.
Just remember that consistency is key, don’t change your type of agitation without adjusting your grind, dose or flow rate to match it.
As always, brew with curiosity, evaluate the taste differences, and take notes
Until next time,
Stay curious, happy brewing, catch you on the next one.
Feel free to check out our other pour-over articles on flow rate and a starter’s guide to help up your brew game!
Before you go. We just wanted to let you all know that we’ve started a YouTube channel and would be amazing if you could all check it out! Click here or on the photo below to check out our first intro video!

